Domains are identified in the Domains page by the name of their domain group, a description, and their domain name. You can provide custom descriptions of each domain and domain group provisioned in your Email Security — Cloud organization. The Identification page of each domain shows the domain group that the domain is associated with. If there is no domain group for a domain, the field is left blank.
Users with read-only roles in their Email Security — Cloud organization cannot change the name of a domain group or domain. Users with non-read-only admin roles can change both the name and description of a domain or domain group. If you do not have permission to change a domain's identification, you will only be able to view a domain or domain group's name and description.
To access the Identification page and add or change a domain's description:
In the Domains page, click on the name of a domain.
You are redirected to the domain details page. Next to Identification, click Manage.
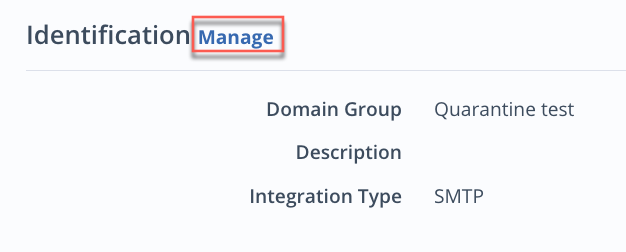
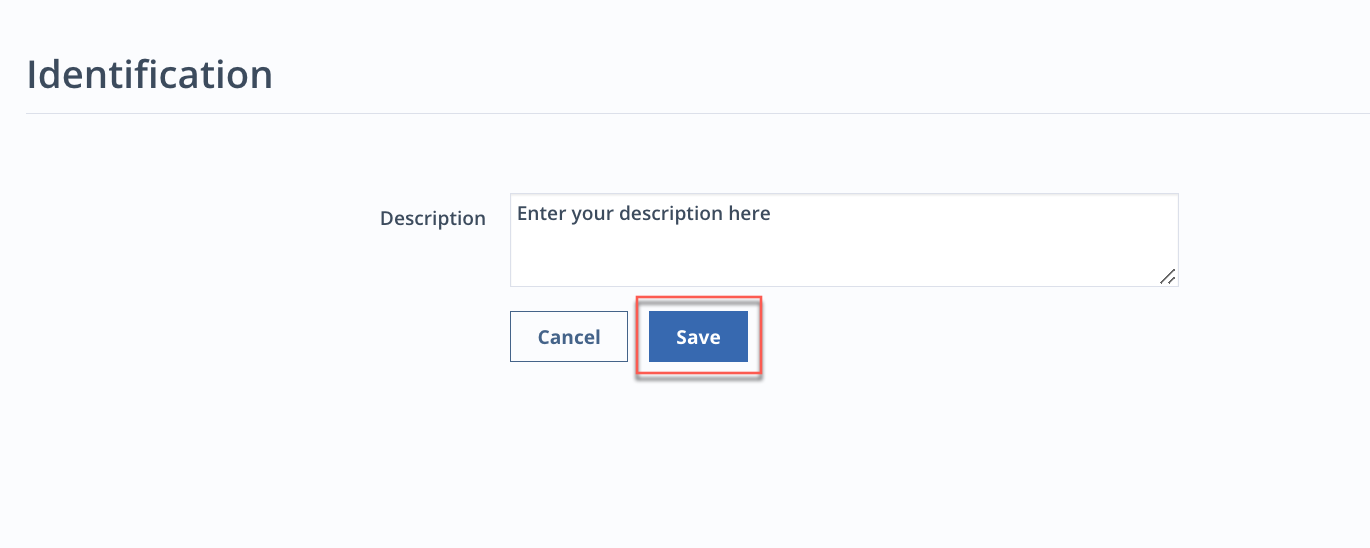
The Identification page appears with the name of the domain group the domain is associated with and a description box.
Enter a description and click Save.
To access the Identification page and add or change a domain group's description:
In the Domains page, click on the name of a domain group.
You are redirected to the domain details page. Next to Identification and Domains, click Manage.
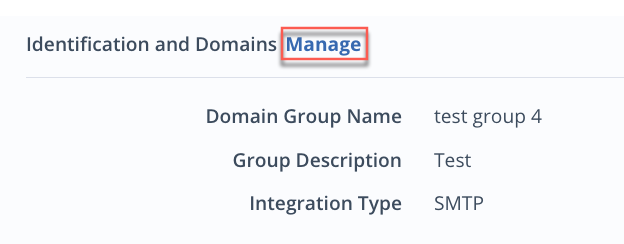
The Identification page appears with the domain group's name and a description box.
Change the domain group name and enter a description.
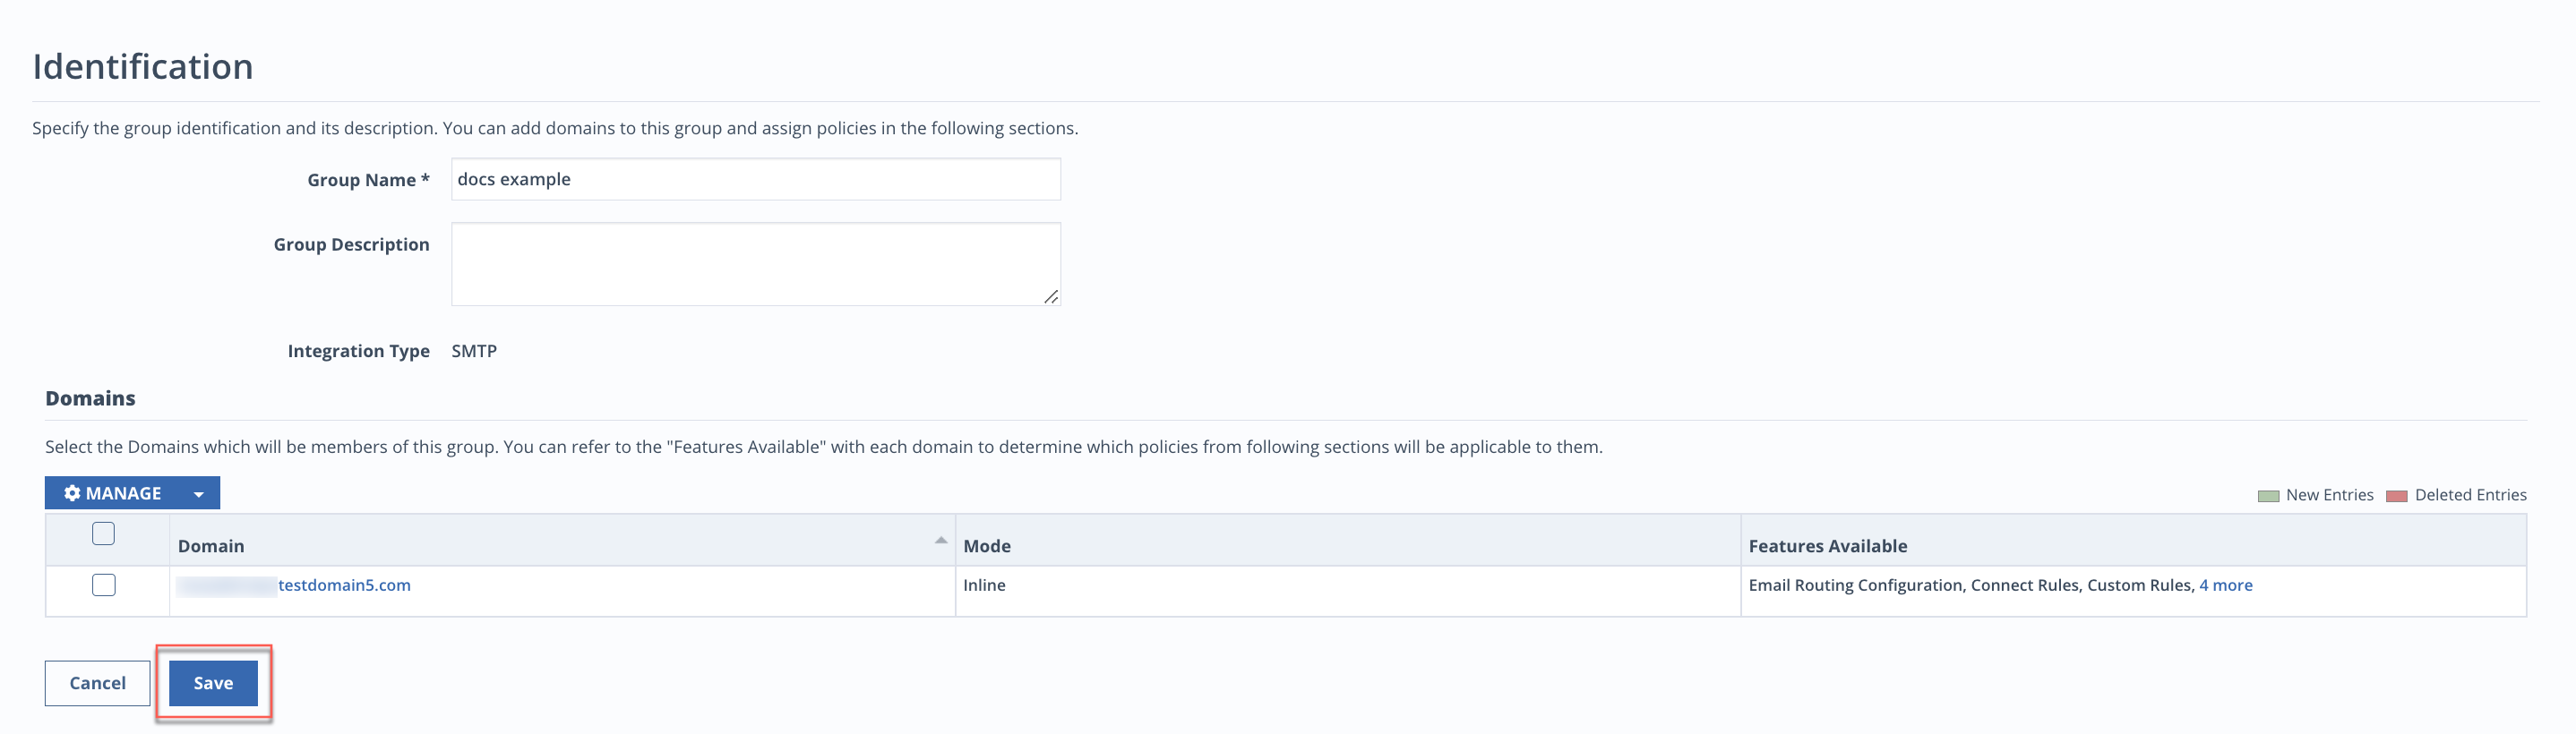
Click Save.
To enable or disable email scanning for Native domains:
In the Domains page, click on the name of a domain.
You are redirected to the domain details page. Next to Identification, click Manage.
In the Email Scanning section, select either Enable or Disable.
Click Save.
Note
Email Security - Cloud updates new subscriptions and domains every few hours, thus new domains may take up to a few hours to reflect in Email Security — Cloud and for scanning to begin. Admins can manually update a subscription using the Sync button. This allowsEmail Security — Cloud to receive notifications immediately, but the time taken for the sync to reflect may vary depending on the number of mailboxes. When scanning is enabled for a domain, Email Security — Cloud scans emails from the previous hour. See Push notification settings for more information.