Use the Notification Settings page to send notifications to one or more SNMP trap sink servers.
Note
SNMP notifications are not management information notifications. For more information about management information notifications, refer to the “Network Administration” section of the Malware Analysis System Administration Guide.
Prerequisites
Admin or Operator access to the Network Security appliance.
To add an SNMP trap sink:
In the Web UI, open Settings > Notifications.
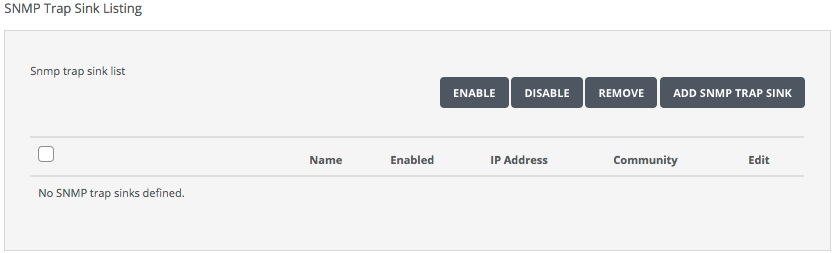
Select SNMP from the Notifications Settings tab.
Click Add SNMP Trap Sink.
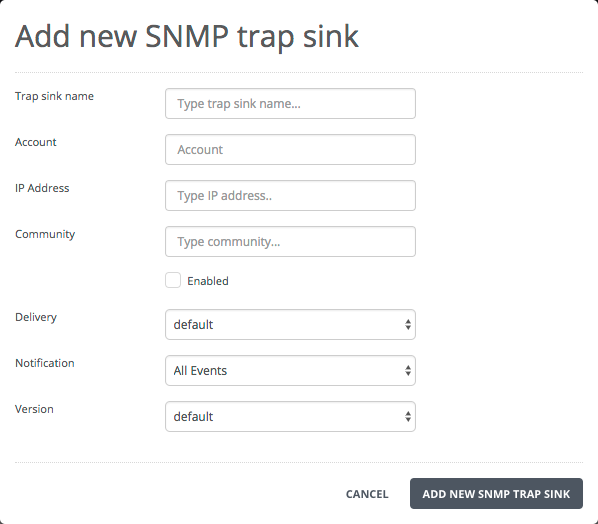
Enter the following Trap Sink information:
Trap sink name
IP address of the SNMP trap sink server
Community script
Select Enabled.
Select the following Alert options:
Delivery method
Notification frequency
SNMP version
Click Add new SNMP trap sink.