You can add an IP address or subnet by configuring a policy configuration rule to a network whitelist by using the fields of the Settings: Whitelists page. You enter each rule separately.
You can add up to 256 network whitelist rules.
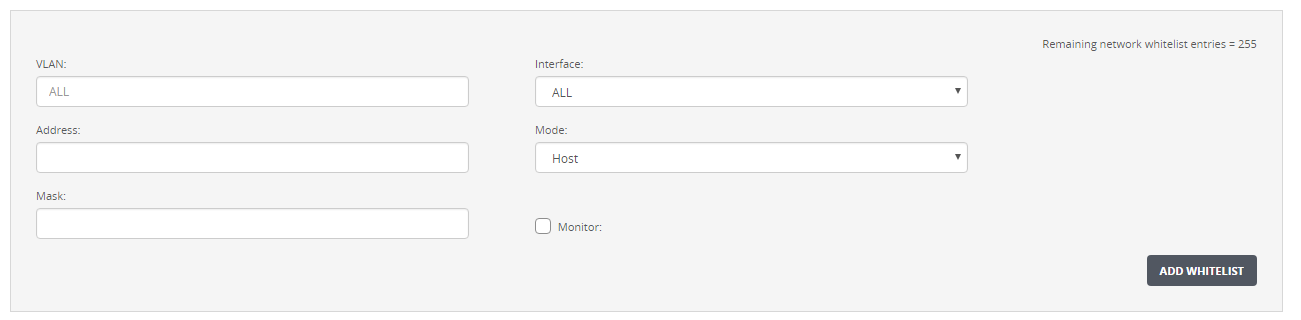
You specify the settings for each rule of the network whitelist, as described in the following table.
Field | Description |
|---|---|
VLAN | (Optional) A virtual local area network (VLAN) identification number to add to the whitelist. The default value is "ALL". The range is from 1 to 4094. |
Address | IP address to add to the whitelist.
|
Mask | Valid Classless Inter-Domain Routing (CIDR) mask for the host prefix. |
Interface | Interface on which to apply the whitelist. When you apply interface A, traffic entering the appliance on pether3 and pether4 are whitelisted. When you apply interface B, traffic entering the appliance on pether5 and pether6 are whitelisted. The following interfaces are available:
|
Mode | Options for the traffic filter:
Traffic filters whitelist IP addresses within a session. A session starts with the first packet that passes through the appliance or sensor. |
Monitor | The appliance or sensor can monitor the specified address on the whitelist and alert you about malicious traffic. This setting does not block malicious traffic. If this checkbox is not selected, the appliance or sensor does not monitor traffic. The Monitor option is not available if you select the Source or Destination option. |
In the Web UI, choose Settings > Whitelists.
(Optional) Enter the VLAN identification number for the VLAN you want to add to the whitelist in the VLAN field.
Enter an IP address for the whitelist in the Address field.
Enter the mask length for the host prefix in the Mask field.
Select an interface on which to apply the whitelist in the Interface drop-down list.
Select an option to filter traffic in the Mode drop-down list.
Host
Source
Destination
(Optional) Select the Monitor checkbox if you specified Host mode.
Click Add Whitelist. The rule is added to a network whitelist.
The following message appears:

Repeat the preceding steps to add additional rules to a network whitelist.
Close the message.