To launch the Virtual IPS Sensor as a virtual machine from Azure marketplace, perform the following steps:
Task
-
Log in to the machine which has the Azure CLI installed on it.
If you are logging in to the Azure CLI for the first time, execute the following command:
az login -
Save the following user data for establishing communication as a .txt file in the machine where Azure CLI is installed:
{ "Primary Manager IP" : "IPS_PRIMARY_MANAGER_PRIVATE_IP", "Secondary Manager IP" : "", "Cluster Name" : "CLUSTER_NAME", "Sensor Shared Key" : "SHARED_KEY" }If you have deployed the Manager as MDR, use the following user data:
{ "Primary Manager IP" : "IPS_PRIMARY_MANAGER_PRIVATE_IP", "Secondary Manager IP" : "IPS_SECONDARY_MANAGER_PRIVATE_IP", "Cluster Name" : "CLUSTER_NAME", "Sensor Shared Key" : "SHARED_KEY" } -
Execute the following command:
az vm image list --all -p trellix_azure --offer trellix_vips_sensorParameter Description -p Enter trellix_azure --offer Enter trellix_vips_sensor Note the urn generated for the Virtual IPS Sensor image.
-
Execute the following command to accept the terms when deploying the Virtual IPS Sensor offer for the first time from marketplace:
az vm image accept-terms --urn <from previous step>Parameter Description --urn Enter the urn value generated from the previous step. -
Execute the following command to deploy the Sensor virtual machine with single interface:
Following are the input parameters required for the CLI command:az vm create --resource-group <resource group name> --name <Sensor name> --image <Sensor image> --admin-username <user name> --ssh-key-values <SSH public key or public key file path> --custom-data <location of the .txt file> --size "Standard_F4s_v2" --subnet <subnet name> --vnet-name <vnet name>Parameter Description --resource-group Name of the resource group where the Sensor has to be created --name Combination of name and number to retrieve the Sensor name Note
The Virtual IPS Sensor name should not exceed 25 characters.
--image URN value of the Sensor image from Marketplace --admin-username Login user name for the Sensor instances in the scale set --ssh-key-value SSH key value for the Sensor --custom-data Location in the machine where the user data .txt file is available --size The Sensor is deployed as a Standard F4s_v2 virtual machine. Enter "Standard_F4s_v2". --subnet Names of the subnet where the Sensor has to be created --vnet-name Name of the vnet where the Sensor has to be created For a list of advanced CLI commands to create a virtual machine, see Azure CLI commands for creating a virtual machine in Microsoft Azure documentation.
The Sensor virtual machine is deployed.
Tip
To view the Virtual IPS Sensor virtual machine, go to All services, under the Compute section, and click Virtual machines. You are directed to the Virtual machines page where you can view or delete the Virtual IPS Sensor virtual machine.
-
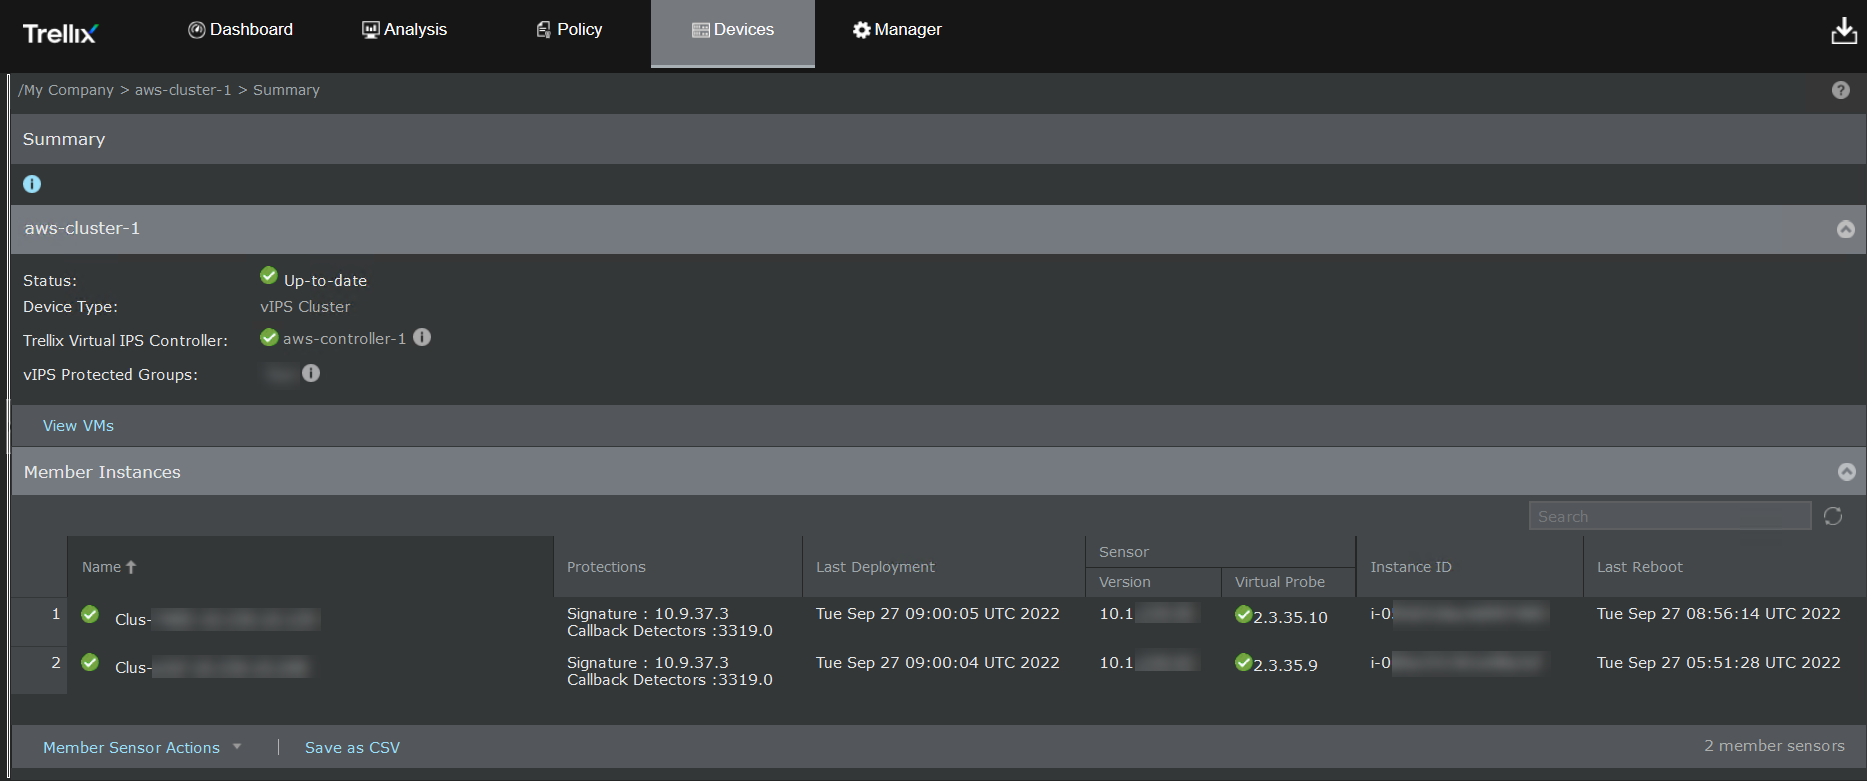
After the Virtual IPS Sensor is deployed, go to
Devices → <Admin Domain Name> → Devices → <Device Name> → Summary page in the Manager to validate successful deployment of the Virtual IPS Sensor.
If the Virtual IPS Sensor is deployed successfully, a green icon appears next to the Virtual IPS Sensor name.