Use the Advanced SSL Configuration area in the SSL Intercept Settings page to configure the advanced SSL settings for SSL interception using the Web UI.
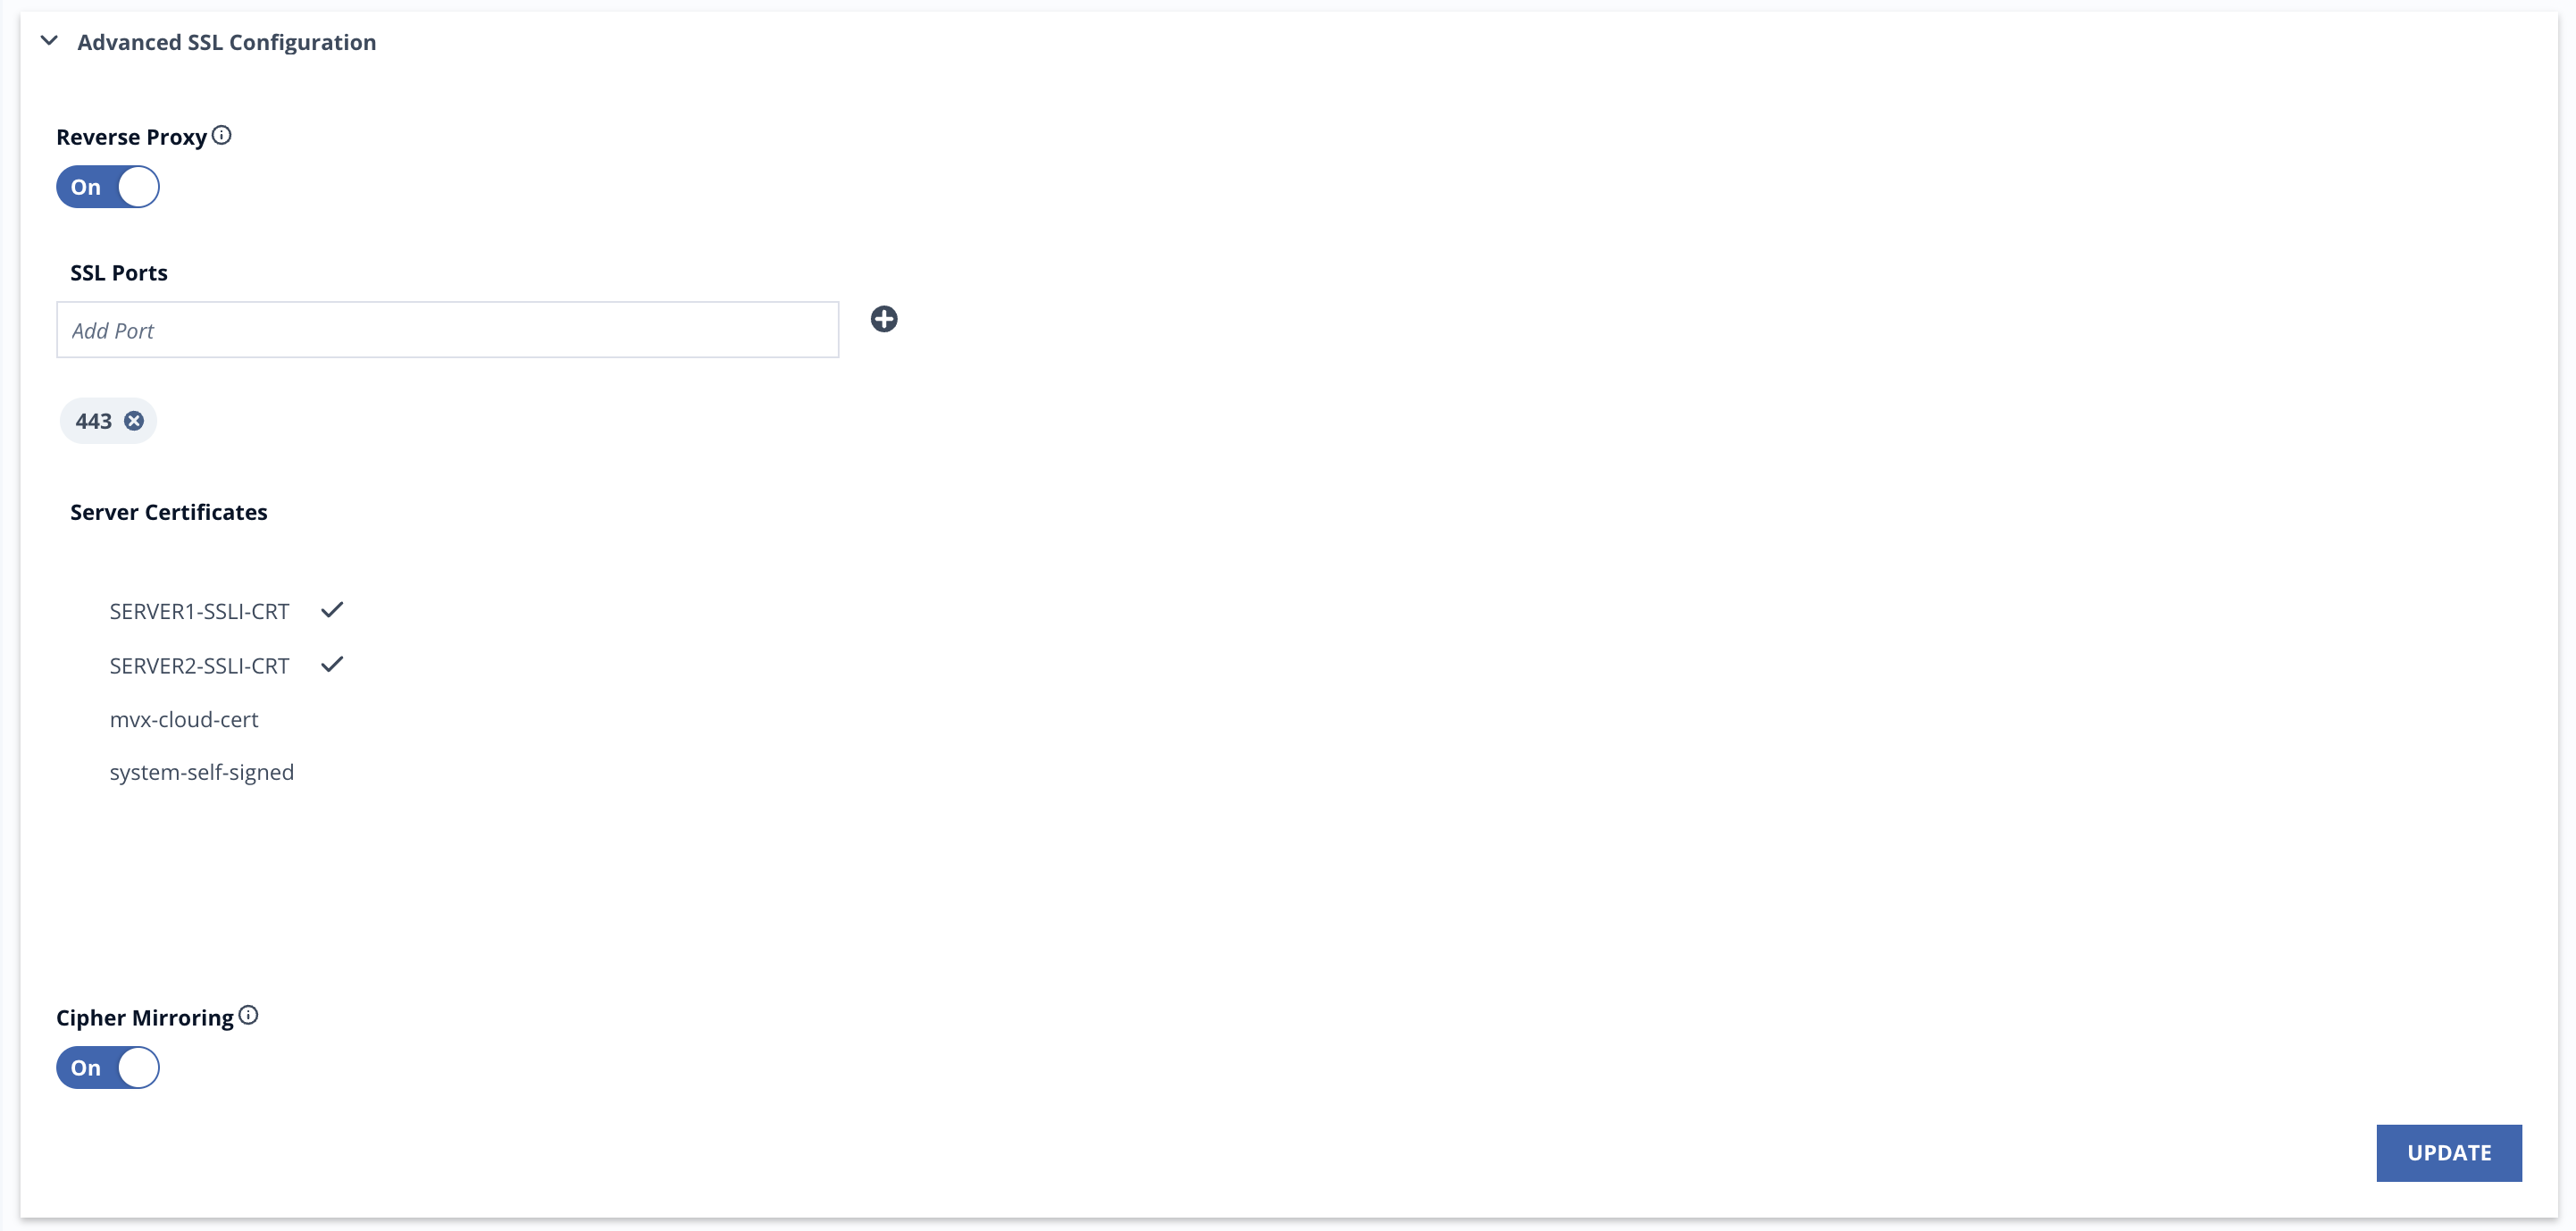
You specify the following advanced SSL settings for SSL interception.
Field | Description |
|---|---|
Reverse Proxy | NX intercepts inbound HTTPS connections initiated by a client towards a server, while preserving the original server certificate. The original server certificate, along with its private key, should be imported into NX. The imported server's private key is used by NX to decrypt the incoming HTTPS traffic securely. |
SSL Ports | TCP port to intercept HTTPS traffic on the port pair that is configured on the appliance interface. You can specify a maximum of 8 TCP ports for SSL interception. |
Server Certificates | The imported original Sever certificate. |
SSL Trusted Certificate | SSL certificate that is issued by a trusted public certificate authority (CA) or your own organization. For example, the SSL certificate that is trusted can have the name ssl-proxy-trusted. |
SSL Untrusted Certificate | SSL certificate that acts as an untrusted certificate. For example, the SSL certificate that is not trusted can have the name ssl-proxy-untrusted. |
Inbound TLS Minimum Version | Minimum TLS version required for inbound SSL interception connections. The default is TLS v1.2. |
Inbound Cipher List | Cipher list associated with inbound SSL interception and TLS connections.
|
Outbound TLS Minimum Version | Minimum TLS version required for outbound SSL interception connections. The default is TLS v1.2. |
Outbound Cipher List | Cipher list associated with outbound SSL interception and TLS connections.
|
In the Web UI, choose Settings > SSL Intercept.
Click Advanced SSL Configuration.
Disable Reverse Proxy: By default Reverse Proxy is disabled. Perform step 4 if you want to enable reverse proxy mode, else continue from step 5 onwards.
Enable Reverse Proxy: By default Reverse Proxy is disabled. Use the On/Off toggle to enable it. When the Reverse Proxy mode is enabled, NX intercepts inbound HTTPS connections that are initiated by a client towards a server, when NX is deployed in front of HTTPS Server. This requires server certificate and a private key to decrypt the incoming HTTPS traffic securely.
In the SSL Ports field, enter the TCP port number.
To add another port, click the circled plus sign and repeat the previous step.
To delete a port, click X next to the port.
From the Server Certificate list, select the certificate you want to import.
In the SSL Ports field, enter the TCP port number.
To add another port, click the circled plus sign and repeat the previous step.
To delete a port, click X next to the port.
In the SSL Trusted Certificate drop-down list, choose the SSL interception certificate that is issued by a trusted public certificate authority (CA) or your own organization.
In the SSL Untrusted Certificate drop-down list, choose the SSL interception certificate that acts as an untrusted certificate.
In the Inbound TLS Minimum Version drop-down list, choose one of the following TLS versions:
TLSv1.0
TLSv1.1
TLSv1.2
TLSv1.3
In the Inbound Cipher List drop-down list, choose one of the following cipher lists to associate with an inbound connection:
fips
cc-ndcpp
fips-and-cc-ndcpp
fips-high-security
cc-ndcpp-high-security
fips-and-cc-ndcpp-high-security
compatible
custom
The list of inbound SSL ciphers is also displayed.
In the Outbound TLS Minimum Version drop-down list, choose one of the following TLS versions:
TLSv1.0
TLSv1.1
TLSv1.2
TLSv1.3
In the Outbound Cipher List drop-down list, choose one of the following cipher lists to associate with an outbound connection:
original
fips
cc-ndcpp
fips-and-cc-ndcpp
high-security
compatible
custom
The list of outbound SSL ciphers is also displayed.
Click Save.