A Cluster is a collection of Virtual IPS Sensors that protect a group of instances. The Clusters tab allows you to configure Clusters and the corresponding protected groups.
Steps:
In the Manager, go to Devices → <Admin Domain Name> → Global → Device Manager.
The Device Manager page is displayed.
Select the vIPS Clusters tab.
The page displays Clusters. When you select any Cluster, details for the specific groups protected by it are displayed.
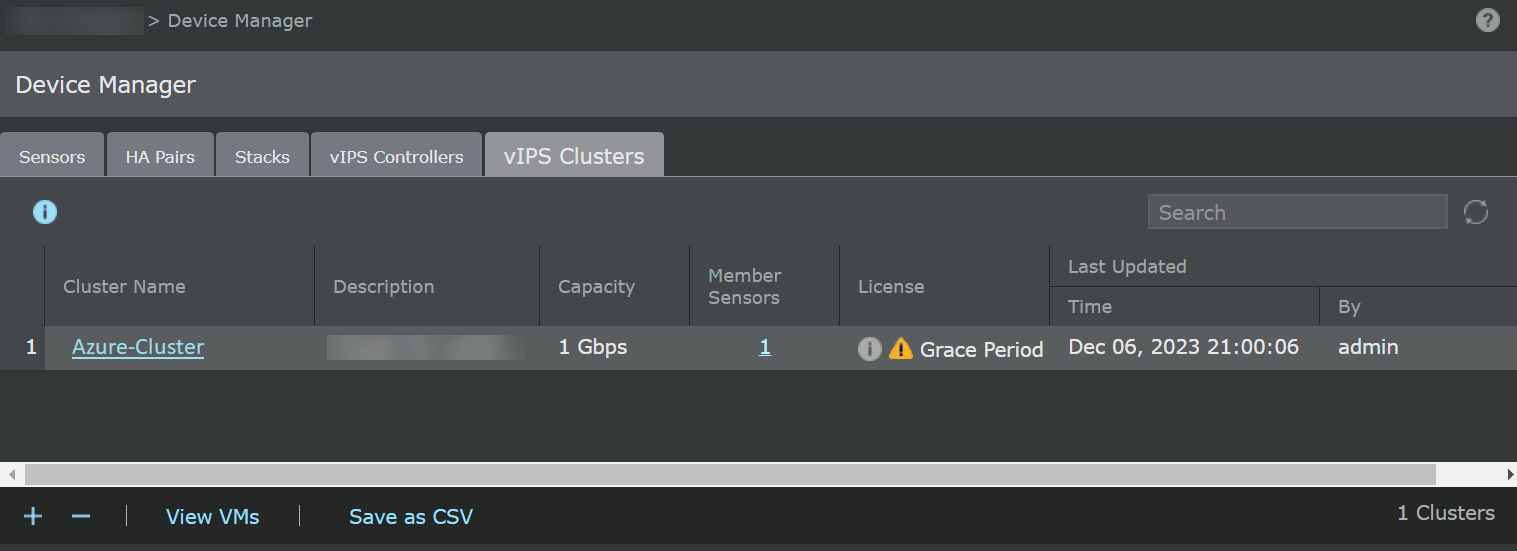
Option
Definition
Cluster Name
Name of the Cluster
Description
Description of the Cluster
Capacity
Displays the total capacity of license required for all member Sensors in the cluster.
Member Sensors
Number of Member Sensors in the selected Cluster
Note
Clicking on this number redirects you to Devices → <Admin Domain Name> → Devices → Summary. Here, the summary of the Member Sensors is displayed.
License
Displays the license(s) status of the cluster.
Auto-assignment of license(s) to the device:
If sufficient licenses(s) are available in the pool, the license(s) will be auto-assigned to the device. However, if enough license(s) are unavailable in the pool, the partial assignment of license(s) will not be permitted.
When a standalone Sensor or a member Sensor is registered successfully, and enough license(s) are available in the pool, the license(s) will be auto-assigned to the standalone Sensor or a member Sensor.
When you upgrade the Manager, and enough license(s) are available in the pool, the license(s) will be auto-assigned to the Sensor.
When the license(s) assigned to the device expires and sufficient unassigned license(s) are available in the pool, license(s) will be auto-assigned to the device.
Manual assignment of license(s) to the device:
You can assign a license by clicking the
 icon. However, you cannot perform the license assignment if the cluster is empty. In such scenarios, the icon will be hidden.
The license(s) status can be one of the following options:
 Required: The reason can be one of the following:
The license(s) has not been assigned.
The license(s) are assigned, but their capacity is less than the cluster's configured capacity.
Note
If a combination of expired and insufficient licenses exists, the insufficient license takes a higher priority.
 Present: The sufficient license(s) are present and valid.
 Expired: The license(s) are assigned, but one or more license(s) are expired.
 Grace Period: The assigned license(s) have expired and are now running on a grace period.
Note
A grace period of 30 days is provided to subscription-based system licenses after they expire.
Last Updated
Time — Date in <mmm-yy> format, and time when the Cluster was last updated
By — User who modified the Cluster

Refresh the status of all the Clusters.
Search
Enter the keyword to search the required Clusters.

Create a new Cluster.

Deletes a Cluster
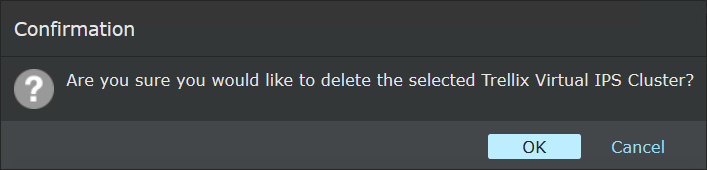
Perform the following steps to delete a Cluster:
Select the Cluster and click
.Click OK to delete the selected Cluster, or click Cancel to return to the Clusters page.
Save as CSV
Creates a .csv list of the list of Clusters
View VMs
To view the VMs protected by the Clusters
To add a new Cluster, click
.The Add Cluster panel appears where you can update the Controller configuration, and enter the shared secret key for the Cluster to establish communication with your Manager.
Enter the following details:
Option definitionsOption
Definitions
Cluster Name
Enter a unique name for the cluster.
Note
The minimum length for a name is 1 character. The name can contain up to 50 alphanumeric (upper or lower case letters) characters, including hyphens and underscores. The name must begin with a letter.
Description
Enter a description for the Cluster.
Note
The minimum length for description is 1 character. The maximum allowed character length is 255 characters.
Shared Key
Enter the shared key used by the Sensor to establish communication with the Manager.
Note
The minimum length for shared secret size is 8 characters. The maximum allowed character length is 25 characters.
Confirm Shared Key
Re-enter the shared key for confirmation.
Last Updated
Displays the time and user who last modified the Cluster. The field is blank when you are creating the Cluster for the first time.
vIPS Protected Groups
Displays the list of Protected Groups whose instances are assigned to the Cluster
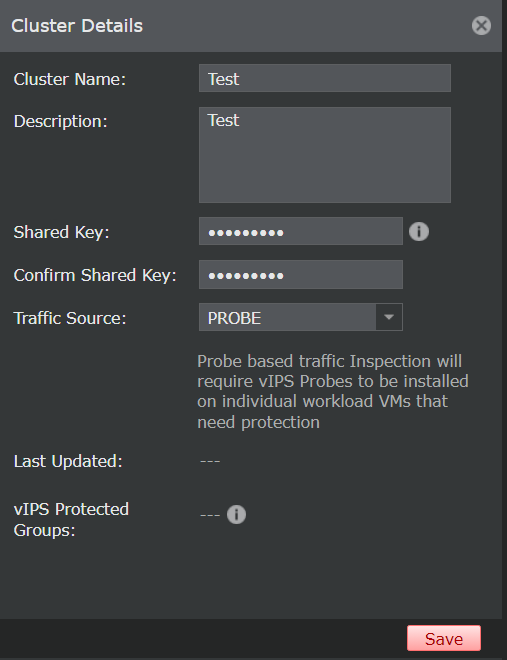
Click Save to save the details to the Manager database.
The Cluster tab displays the details of the new Cluster.
Note
After you install and start the Sensor instance, the Sensor establishes trust with the Manager. The Manager then adds the Sensor to the relevant cluster.
To view the instances being protected by a Cluster, click View VMs.