In the Web UI, choose Alerts > Filters.

Click the Add Filter button near the upper right corner of the screen.
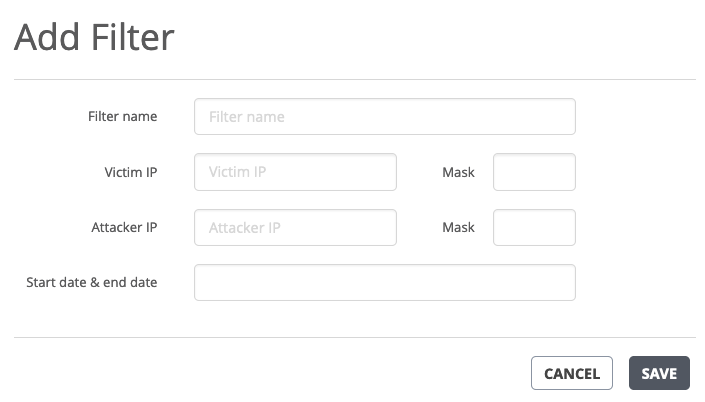
Enter the filter information as indicated in the following table.
Field
Description
Filter Name
Name of the filter. The filter name is case-sensitive.
Victim IP and Mask
The address of the impacted device.
Attacker IP and Mask
The address from which malware was downloaded or pushed.
Start date & end date
Click in the field to see a calender for choosing the month, date, and year the filter starts and ends.
To add the event filter, click Save.
The event filter displays. Previously defined filters are displayed on the Alerts and Summaries tabs.
The list displays the events that match the defined filter.
Depending on the filter, click Alerts or Summaries.
In the drop-down list, choose User Filter.
Select the name of the user filter.
In the Filters page, select the checkbox for each filter you want to delete.
Click Remove Selected Filters.
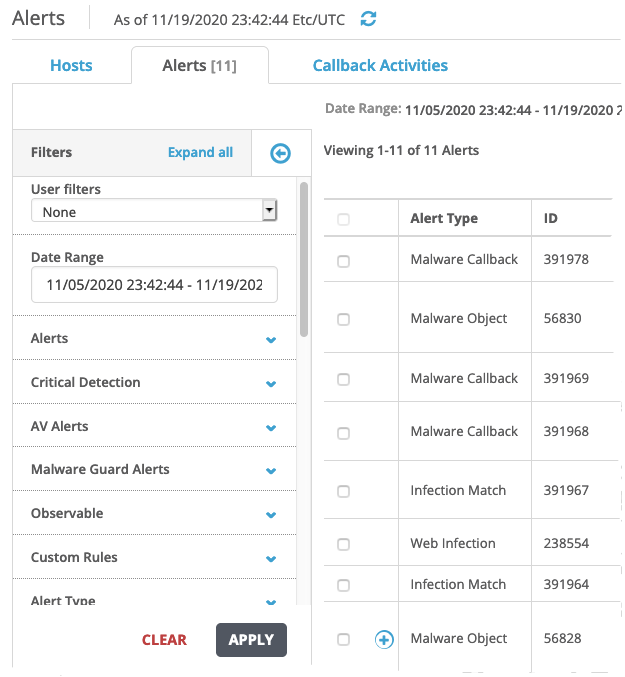
Open the Alerts tab.
Expand the Filters group by clicking on the Filters icon
 in the upper left corner.
In the drop-down list, choose User Filters.
From the expanded Filters group, select any combination of alert attributes to refine your filter:
Click Apply to apply the refined filter.