Important
The public certificate and private key are downloaded and installed automatically when Helix Enterprise mode is enabled on the Network Security appliance. If Helix Enterprise mode is enabled, do not perform this manual procedure without guidance from Trellix Technical Support.
Use the Helix Integration section of the Evidence Collector page to import the public certificate and private key that the Evidence Collector module uses to authenticate with Helix Enterprise.

In the Web UI, choose Settings > Evidence Collector.
Click Helix Integration.
Click the Add Certificate link. The Add Certificate/Key window opens.
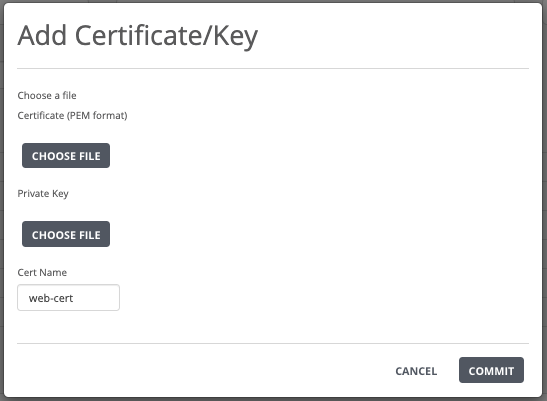
Select the public certificate:
In the Certificate (PEM format) field, click Choose File.
Navigate to the downloaded certificate
bootstrap.pemfile in your local desktop. If the file is hidden in the folder containing it, type the file name and extension.
Select the private key:
In the Private Key field, click Choose File.
Navigate to the downloaded private key
bootstrapfile in your local desktop.
In the Cert Name field, enter a unique certificate name (for example, tapsender).
Click Commit to import the public certificate and private key.
In the Certificate drop-down list, choose the certificate that you uploaded on the appliance.
Click Update to apply the uploaded certificate to the Evidence Collector module.