Use the SSL Certificate Configuration section of the Evidence Collector page to import the public certificate and private key for the SSL server and the root CA certificate to establish a secure Network SecuritySSL connection for the Communications Broker Sender (Comm Broker) on the appliance.

Important
Mutual authentication between the Network Security appliance and the third-party log forwarding server is required. The third-party server must provide a client certificate and the client certificate must be trusted by the Network Security appliance. See your third-party log forwarding server documentation for steps to set up a client TLS certificate.
In the Web UI, choose Settings > Evidence Collector.
Click Helix Integration.
In the SSL Certificate Configuration area, click the Add Certificate link under the Server Certificate drop-down list. The Add Certificate/Key window opens.
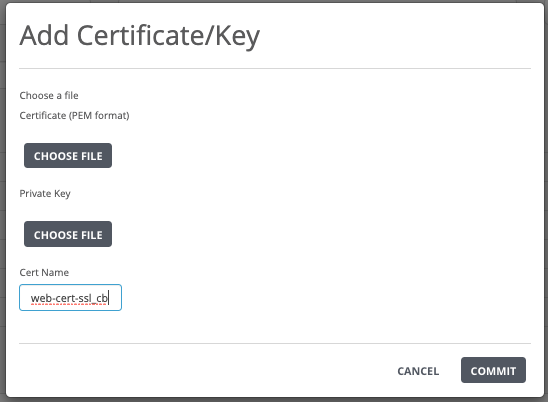
Select the public certificate for the SSL server:
In the Certificate (PEM format) field, click Choose File.
Navigate to the downloaded certificate
bootstrap.pemfile in your local desktop. If the file is hidden in the folder containing it, type the file name and extension.
Select the private key for the SSL server:
In the Private Key field, click Choose File.
Navigate to the downloaded private key
bootstrapfile in your local desktop.
In the Cert Name field, enter a unique certificate name (for example, web-cert-ssl_cb) of your choice.
Click Commit to import the public certificate and private key for the SSL server.
In the Server Certificate drop-down list, choose the certificate that you uploaded on the appliance.
Click Update to apply the uploaded certificate to Comm Broker.
In the Web UI, choose Settings > Evidence Collector.
Click Helix Integration.
In the SSL Certificate Configuration area, click the Add Certificate link under the Root CA Certificate drop-down list. The Add Certificate/Key window opens.
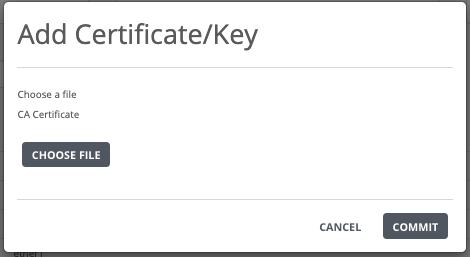
Click Choose File.
Navigate to the downloaded root CA certificate (for example,
rootCA.pem) file in your local desktop. If the file is hidden in the folder containing it, type the file name and extension.Click Commit to import the root CA certificate.
In the Root CA Certificate drop-down list, choose the certificate that you uploaded on the appliance.
Click Update to apply the uploaded certificate to Comm Broker.