As part of Trellix vIPS deployment, you have to launch an instance of the Virtual IPS Sensor in the AWS environment. The Sensor image provided to you in the form of an AMI is the template AMI.
Prerequisite:
You must obtain the AMI image by contacting Trellix support with your AWS account number and region name.
Steps:
To launch an instance using the template AMI, perform the following:
Note
Sensors can be launched as part of an AWS Auto Scaling group. You should create a Launch Configuration similar to the settings provided below. See Create an auto-scaling group for Virtual IPS Sensors in AWS for more information on how to use sensor auto-scaling.
Log in to the AWS console, and navigate to Services → Compute → EC2.
In the left panel, under IMAGES, click AMIs.
Search for the AMI Name of the Virtual IPS Sensor (
Trellix_vIPS_Sensor_11.1.7.x) and click Launch.Under the Choose an Instance type step, select the instance type as c5.xlarge (vCPUs: 4, Memory 8GB), and click Next: Configure Instance Details.
In the Configure Instance Details step, from the drop-down lists for Network and Subnet, choose the Management network and the corresponding subnet.
The User Data to launch the Sensor instance. In the Advanced area, enter the User data to register the Sensor with the Manager.
An example of user data is given below:
{ "Primary Manager IP" : "IPS_PRIMARY_MANAGER_PRIVATE_IP", "Secondary Manager IP" : "IPS_SECONDARY_MANAGER_PRIVATE_IP", "Cluster Name" : "CLUSTER_NAME", "Sensor Shared Key" : "SHARED_KEY", "Traffic Source" : "PROBE" }Note
Only for an MDR pair, the secondary Manager IP is required.
The Sensor Shared Key provided in the Manager must be the same as Sensor Shared Key provided during Sensor deployment.
User data parametersParameters
Description
Primary Manager IPPrimary IP address of the primary Manager
Secondary Manager IPPrivate IP address of the secondary Manager
Cluster NameName of the Cluster in the Manager where the auto scale group will be launched
Sensor Shared KeyShared secret key to establish trust with the Sensor
Traffic SourceMode of traffic source
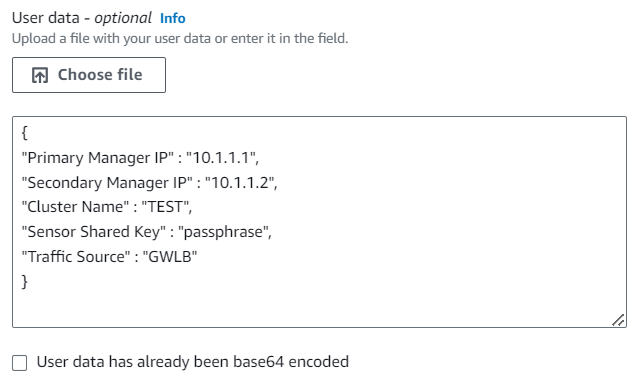
For more information on User Data, see the section Custom/User data for establishing trust.
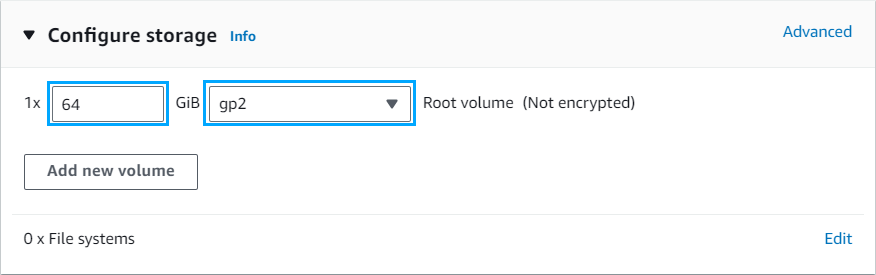
Under the Add Storage step, use the default Size (64 GiB), and click Next: Add Tags.
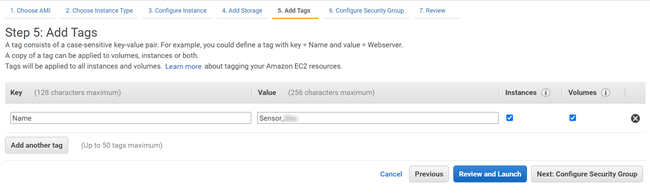
Define a tag for your Sensor instance, and click Next: Configure Security Group.
In the Configure Security Group page, you can create a new Security Group to define the firewall rules to control traffic to the Sensor or choose an existing Security group.
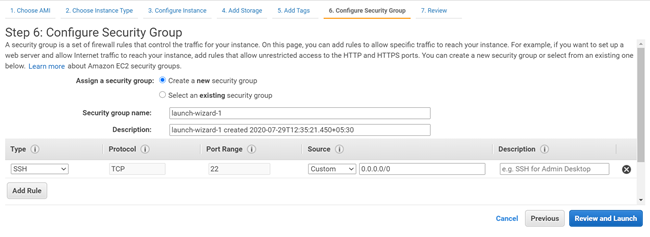
Once you have configured the Security Group, click on Review and Launch.
Under the Review Instance Launch step, review the details provided for the creation of the instance. You can either edit specific details, or click on Launch to assign a key pair to your Sensor instance.
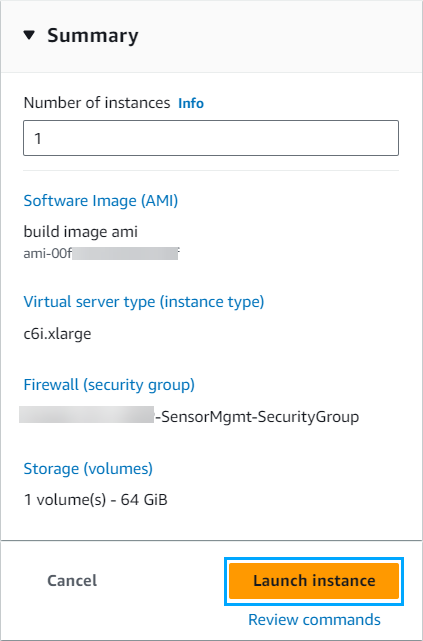
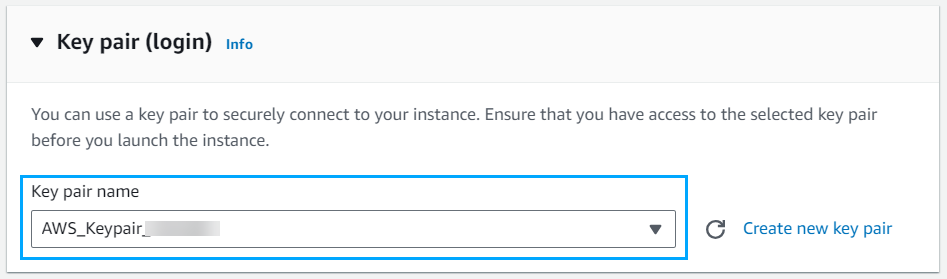
In the Select an existing key pair or create a new key pair window, you can either choose an existing key pair or create a new key pair, and click Launch instances. The instance is now launched.
Note
Even though you provide a key pair, you cannot login to the Sensor instance using the key pair. You should use the Sensor's user account to login.