Steps:
Type
statusin the Sensor CLI.The status report appears.
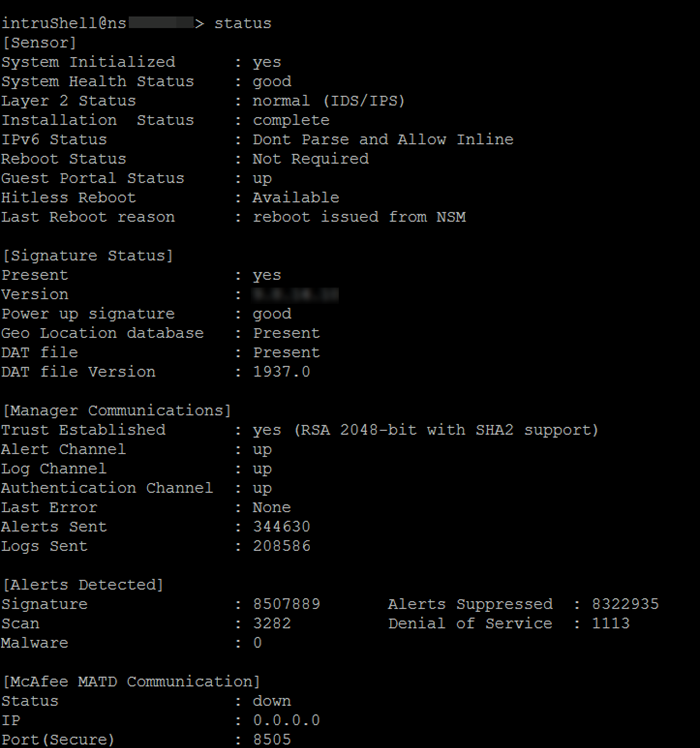
The Sensor parameter
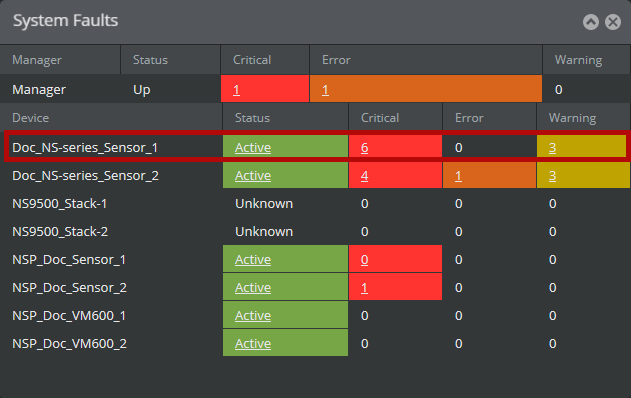
System Initializedshould beyes, and for Manager communicationTrust Establishedshould beyes.Return to the Manager. In the Manager Home page, view the Manager status in the System Faults section.
The Manager status should be up and Sensor status should be active.
From the Manager Home page, click Configure to open the Configuration page.
Select your added Sensor: Device List → <Device_Name>. The ports for this Sensor appear under the <Device_Name> node.
Note
<Device_Name> indicates the name of the Sensor you added.
A policy named Default Prevention is active upon the addition of the Sensor. To view this policy, select Policy → <Admin Domain> → Intrusion Prevention → Policy Types → IPS Policies.
The Default Prevention policy contains attacks already configured with a "blocking" Sensor response action. If any attack in the policy is triggered, the Sensor automatically blocks the attack. To tune this or any other Trellix IPS-provided policies, you can clone the policy and then customize it as described in Trellix Intrusion Prevention System Product Guide.
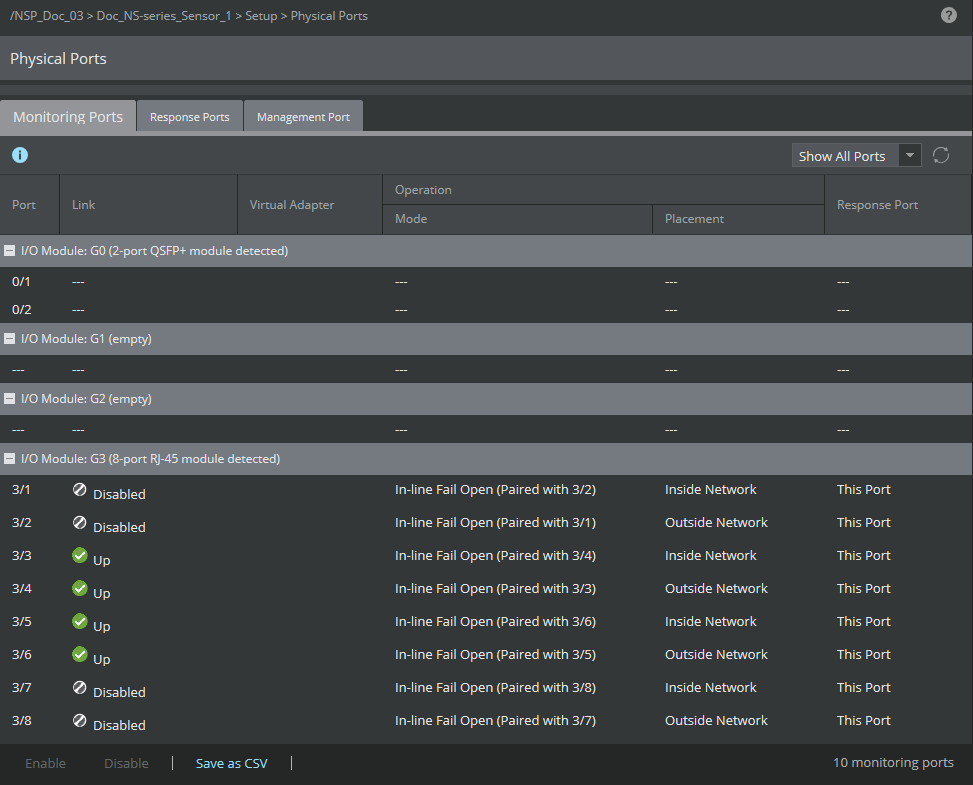
Click Device List → <Device_Name> → Port Settings.
To view port settings, select the port on the Sensor that you cabled. Ensure that your port settings match the cabling. For example, if port 1 is cabled for inline mode, the mode of operation in the port setting should be inline mode.
Note
For more information on port settings, see the chapter Configuring the monitoring and response ports of a Sensor in Trellix Intrusion Prevention System Product Guide.