To add the condition to the example signature:
Task
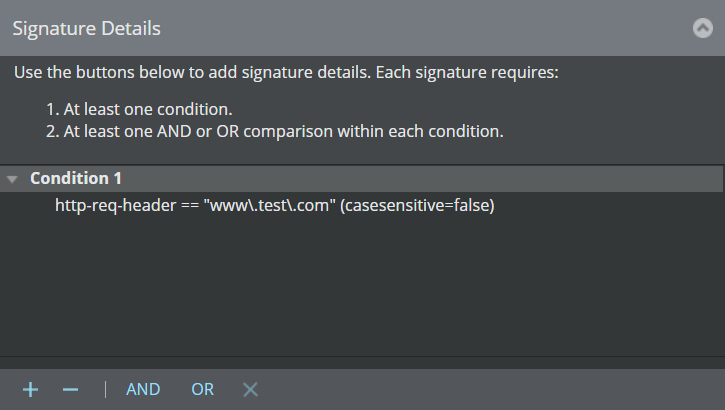
- Condition 1 is added automatically according to the URL you provided.
-
Click
Condition 1 so that it is highlighted.
-
Click
AND in the Comparisons section.
The Add AND Comparison dialog opens.
- For this example, select String Pattern Match in the Comparison Type drop-down menu.
-
Select
http from the
Protocol list.
Because you selected HTTP, the Custom Attack Editor displays the HTTP-specific protocol fields on the following screen.
-
Configure the fields for the comparison you have chosen.
For this example, specify req-uri-path for the Protocol Field. This specifies that the Sensor should search in the URI of the request packet.
- Select get as the http request method.
- From the Operator drop-down list, select the matching criteria as Equals which means that the comparison criteria must be equal to the regular expression entered.
-
Type the pattern to match using the
Text to Match.
For this example, the pattern to match is either "cgi.bin/trillion.pl" or "cgi.bin/trilliant.pl", where "pl" is case-insensitive. To properly write this expression, use the following rules:
- Add a backward slash (\) before every dot (.) to escape: cgi.bin = cgi\.bin
- Use alternatives where possible. For this example, trillion and trilliant can be written as: trilli(on|ant).
- Use character classes to denote case insensitivity for "pl": [Pp][Ll]
The final string should appear as: cgi\.bin/trilli(on|ant)\.[Pp][Ll]Regular Expression details 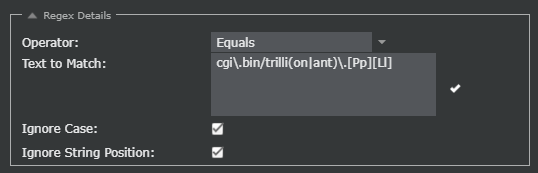
-
Click
 to verify that your expression is a valid string, and all required options are represented. Click
OK to close the validation message window.
to verify that your expression is a valid string, and all required options are represented. Click
OK to close the validation message window.
-
Click
Save.
Your comparison appears under Condition 1.
- Click Save in the Add Exploit Attack window.
- Verify that the attack definition is listed on the Native Trellix IPS Format tab.
- Click Save to save the Trellix IPS Custom Attack in the Manager server database.
- Make sure the Trellix IPS Custom Attack is saved in the database and also published in the policies.