To write a Snort Custom Attack definition for the scenario explained in the previous section:
Task
- In the Custom Attack Editor, click Snort Format tab.
-
Click
 .
The New Snort Rule text box opens.
.
The New Snort Rule text box opens. - Select one of the options from the State drop-down menu.
-
Construct the Snort rule for the scenario, which is the following:
alert tcp any any -> 192.168.1.1 80 (msg:"CGI: Trillion or Trilliant";content:"cgi.bin\trilli";http_uri;pcre:"/cgi.bin\trilli(on|ant).[Pp][Ll]/";priority:2;sid:2051;rev:1;)
Add Snort Rule window 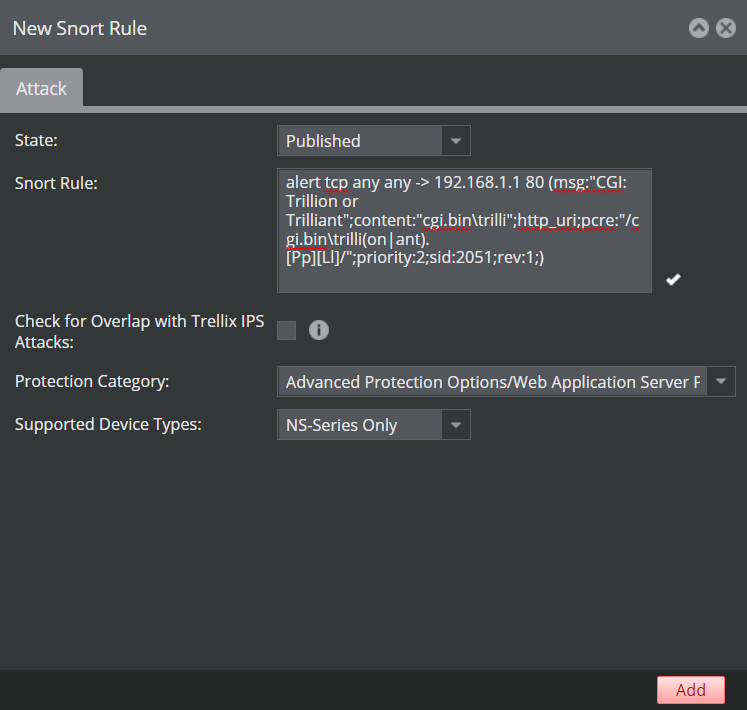
Some points to note regarding the rule:- Specifying the destination IP address improves the performance of the Sensor.
- As you are adding the Snort rule directly in the Custom Attack Editor, as a best practice, you need to specify the destination port number. The Sensor then checks only the HTTP request packet for this rule.
- You need to specify the msg, priority, SID, and the revision number.
- Select Check for Overlap with Trellix IPS Attacks to verify if the rule matches an existing Trellix IPS attack definition.
- Select Advanced Protection Options/Web Application Server Protection as the Protection Category.
-
Click
Add.
The Attack window opens.
Edit Snort Attack window 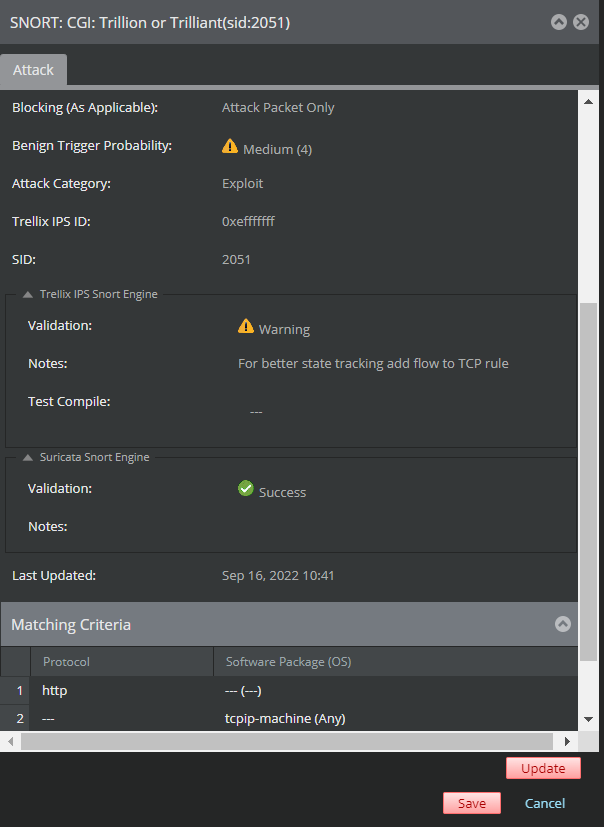
- Note that the Manager assigns the Attack Name based on the msg option and SID of the rule.
- Set the severity to Medium. This is because the priority of the rule is 2.
- Note that the Protocol is set to http. This is because the destination port number is 80.
- Note that the Benign Trigger Probability is set to the default value.
- Close the Attack window.
- In the Custom Attacks window, click Save to save the Snort Custom Attack in the Manager server database.
- Make sure the Snort Custom Attack is saved in the database and also published in the policies.