On the rear panel of the NS7500 Sensor, plug a RJ-45 cable in the Management port (labeled MGMT, for example, 1).
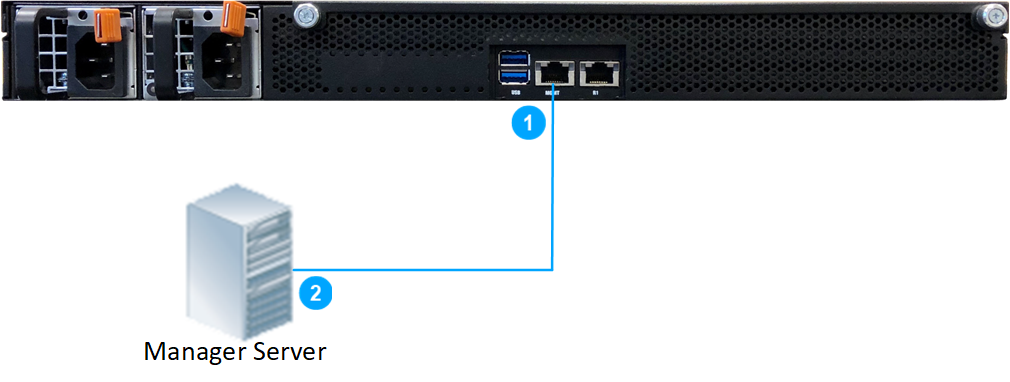
Plug the other end of the cable into the network device connected to your Manager server (for example, 2).
On the front panel of the NS7500 Sensor, plug the DB9 Console cable(s) into the Console port (labeled Console).
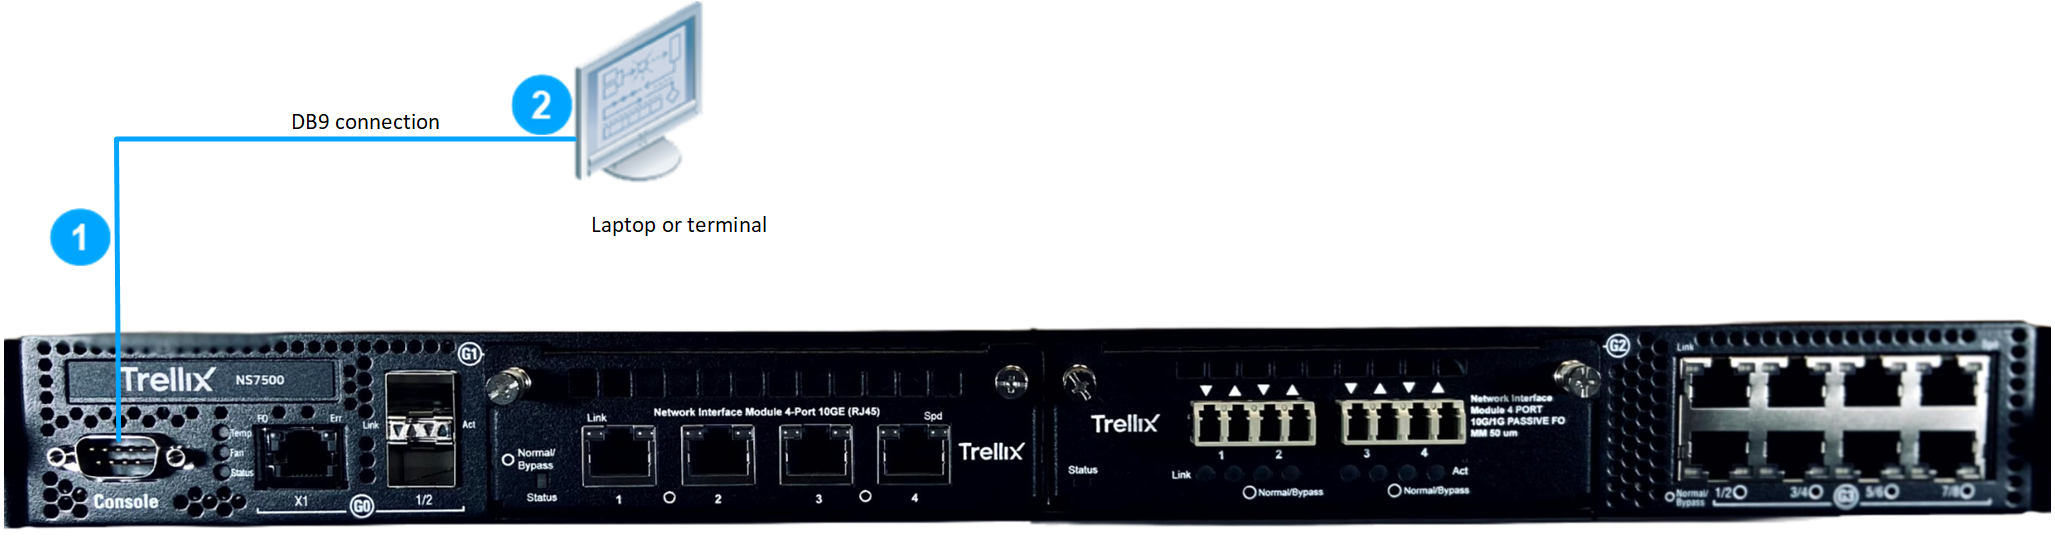
Connect the other end of the Console port cable directly to a COM port of the PC or terminal server you will be using to configure the Sensor (for example, a PC running correctly configured Windows Hyperterminal software). You must connect directly to the console for initial configuration; you cannot configure the Sensor remotely.
Terminal servers are provided for console access.
The required settings for Hyperterminal are as follows:
Baud rate: 115200
Number of Bits: 8
Parity: None
Stop Bits: 1
Control Flow: None
Plug one end of the power cable into the power inlet and plug the other end into a power source. The Sensor ships with standard US power and international cables.
Note
The NS-series Sensor does not have a power switch; you need to only plug the power cable into a power source.
Cable the Management and Console ports
- Published on Sep 17, 2026
- 1 minute(s) read
Was this article helpful?