Before you begin
- To configure SNMP traps, you will require a server that will act as an SNMP server. The SNMP server can be any Windows or Linux system installed with a MIB browser, such as iReasoning.
- The 100G Active Fail-Open chassis IP address should be reachable within the network.
- The SNMP server and the 100G Active Fail-Open chassis should be able to communicate.
- In addition, you will need to obtain the MIB files to decode alert codes sent by the 100G Active Fail-Open chassis. Refer to step 5 for more information.
Note
The SNMP feature of your 100G Active Fail-Open chassis can only be used to send notifications through SNMP traps.
Task
-
Login to the web interface of the 100G Active Fail-Open chassis.
Use default credentials to access the web interface.
-
To add an SNMP v3 user:
-
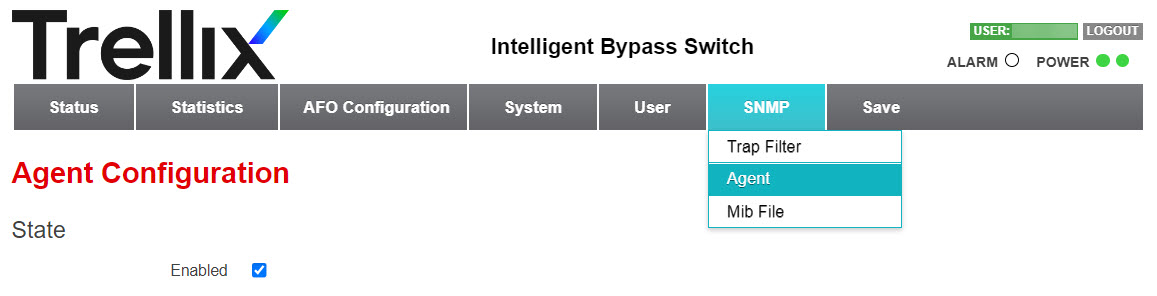
Go to
SNMP → Agent.
-
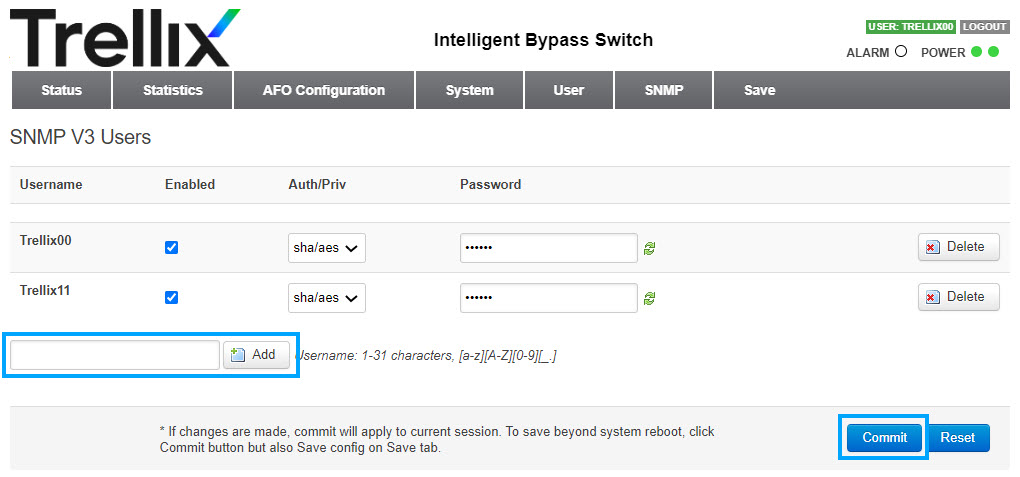
Add a main SNMP v3 user and click
Commit.
-
To save your configuration, select the
Save tab.
Click Save.
New user is added, type a password that is required for both Auth= sha and Priv= aes for the user. -
Go to
SNMP → Agent.
-
To add Trap Hosts:
The main SNMP v3 server can be added in this section by configuring a host with same community/SNMP v3 user/password/auth&priv as per configured in step b for SNMP v3 users.
Note
The main SNMP v3 server (to be able to do GET/WALK function and receive traps from 100G Active Fail-Open module) and/or SNMP v1/v2c/v3 trap host(s) must have the same configuration as per configured here to be able to receive traps from 100G Active Fail-Open module.
- Go to SNMP → Agent.
-
Enter an IPv4 Trap Host and click
Add.
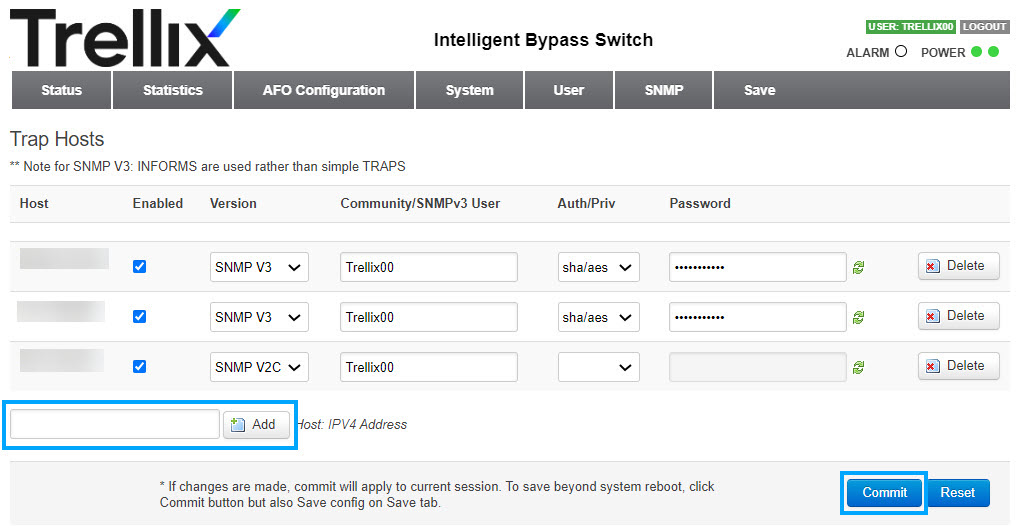
- When configuring SNMP v1 or v2 trap user, only community string is user configurable with a minimum of 5 characters.
- When configuring SNMP v3 trap user,
Community/SNMP v3 User,
Auth/Priv, and
Password need to be configured.
- Community/SNMP v3 User: Should be at least 5 characters for SNMP v3 user
- Auth/Priv: Choose sha/aes or md5/des from the drop-down list
- Password: Should be at least 8 characters
- Click Commit.
-
To save your configuration, select the
Save tab.
Click Save.
-
To configure Trap Filter:
-
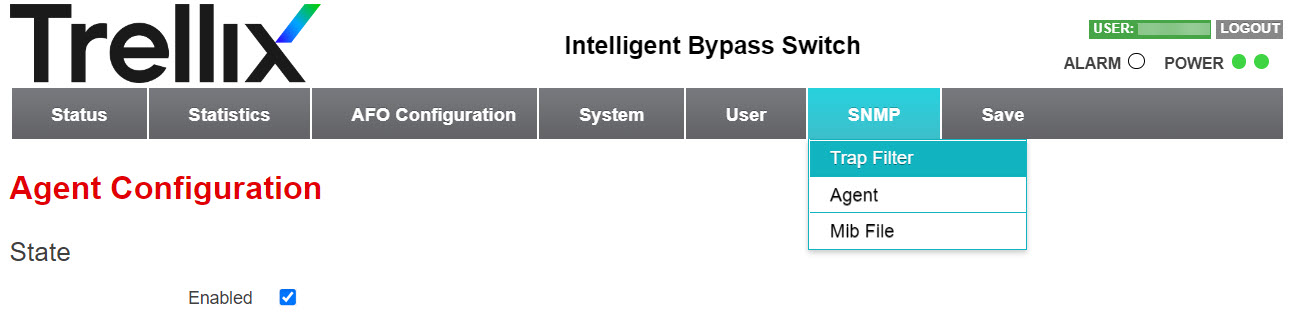
Go to
SNMP → Trap Filter.
-
Select
All or individual traps to be generated.
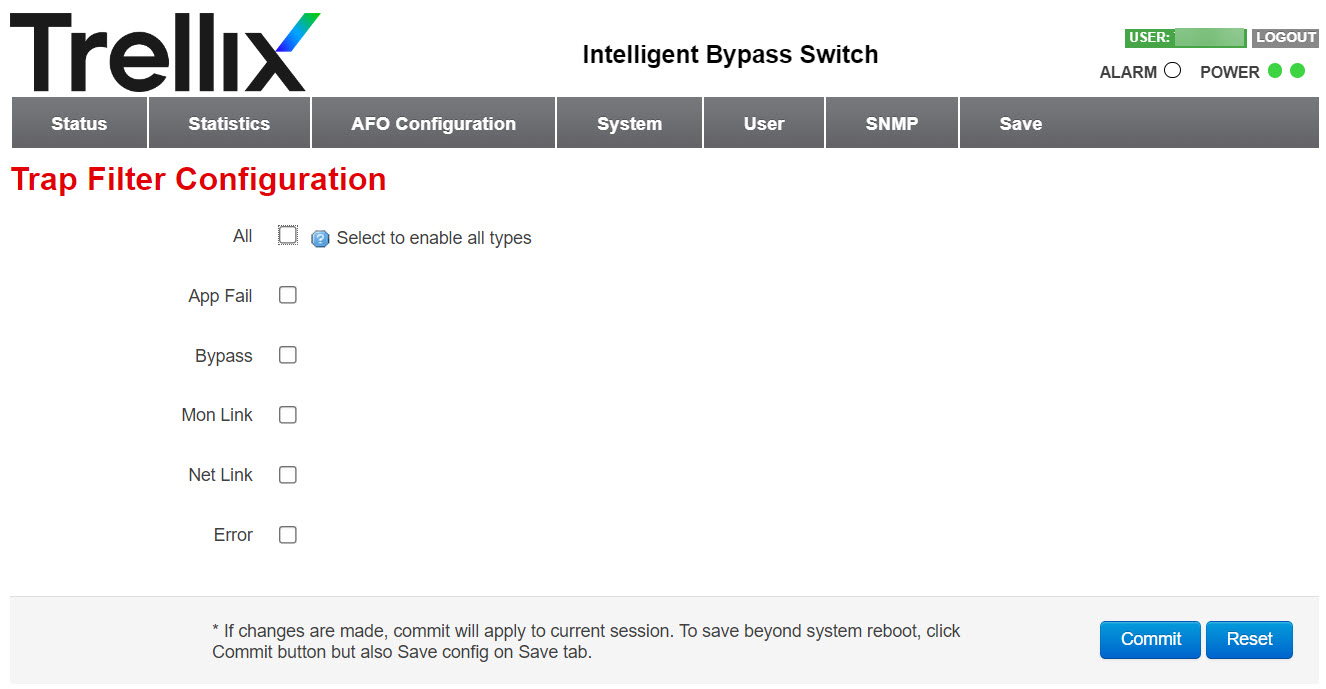
- Click Commit.
-
To save your configuration, select the
Save tab.
Click Save.
-
Go to
SNMP → Trap Filter.
-
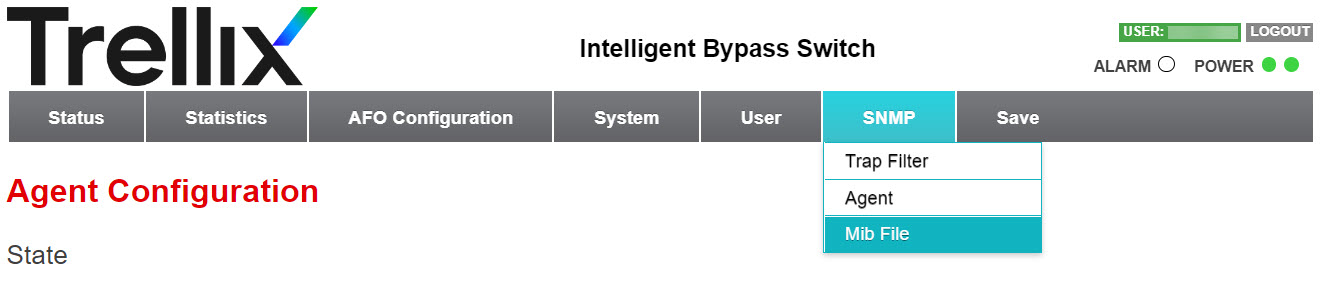
To access MIB file:
-
Go to
SNMP → Mib File.
-
Select a MIB file from the available list and click
Download.
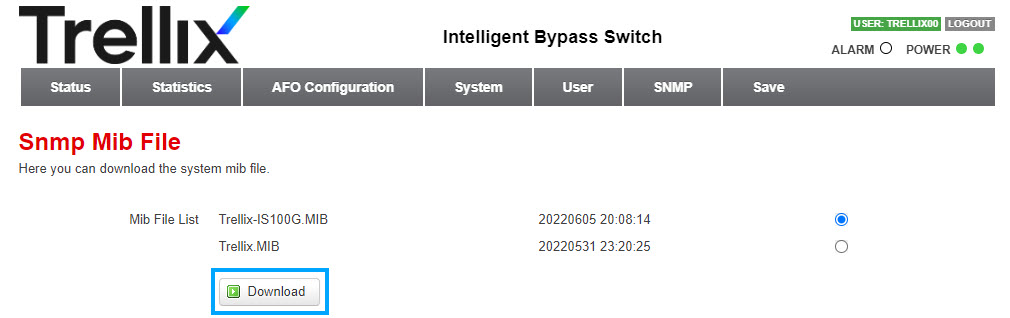
It generates a MIB file.Note
Use this MIB file on your main SNMP v3 or Trap Host servers to translate all MIB OIDs being generated.
-
To save your configuration, select the
Save tab.
Click Save.
-
Go to
SNMP → Mib File.
-
To view the SNMP status and Engine ID:
-
Go to
Status → SNMP.
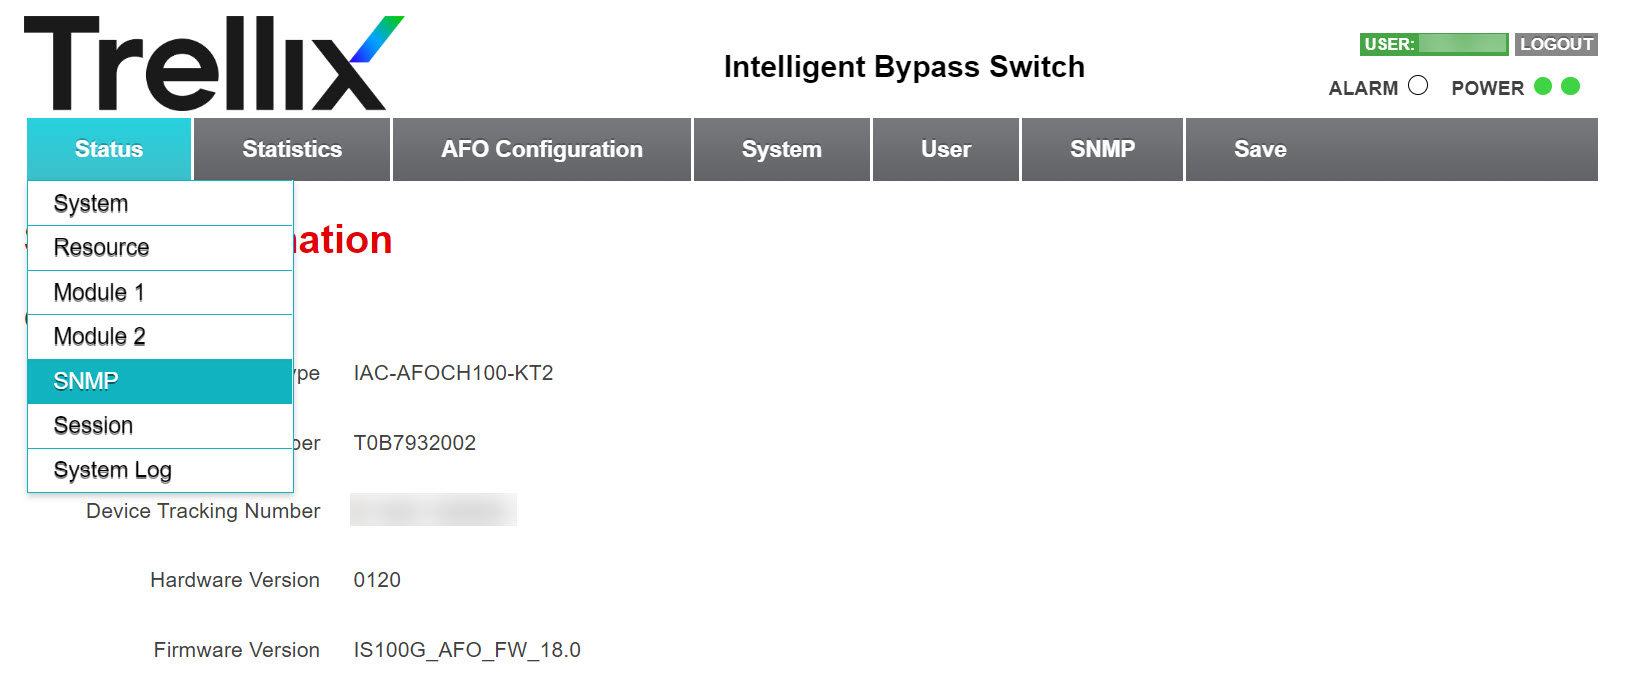
The page displays the SNMP status and Engine ID.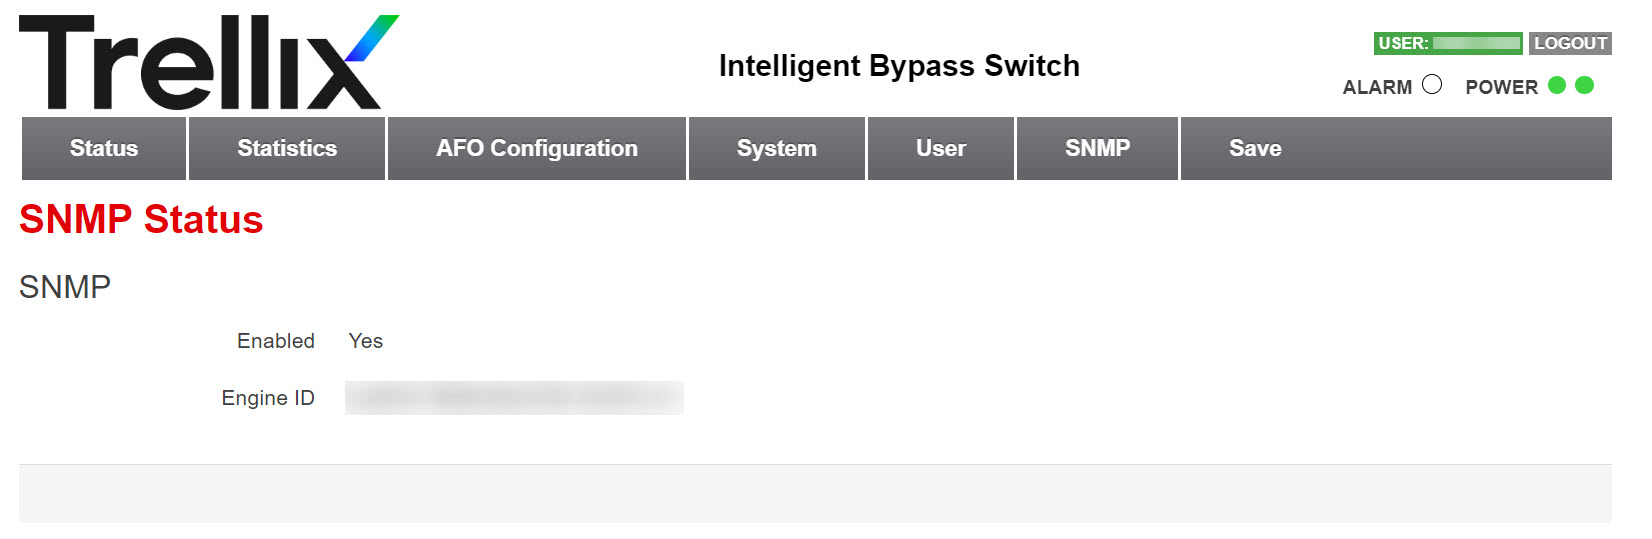
-
Go to
Status → SNMP.