Use this file to discover all available pages before exploring further.
The new docs.trellix.com features a modernized UI and AI-powered conversational search. Content is currently available in English, with additional languages launching in early November 2026. We hope you enjoy the updated experience.
Open a HyperTerminal session to configure the Sensor. This task is performed to establish the trust with the Sensor
CLI window For instructions, see the sectionConnect the cable to the Console port in
Trellix Intrusion Prevention System NS-series Sensor Product Guide for your Sensor model.
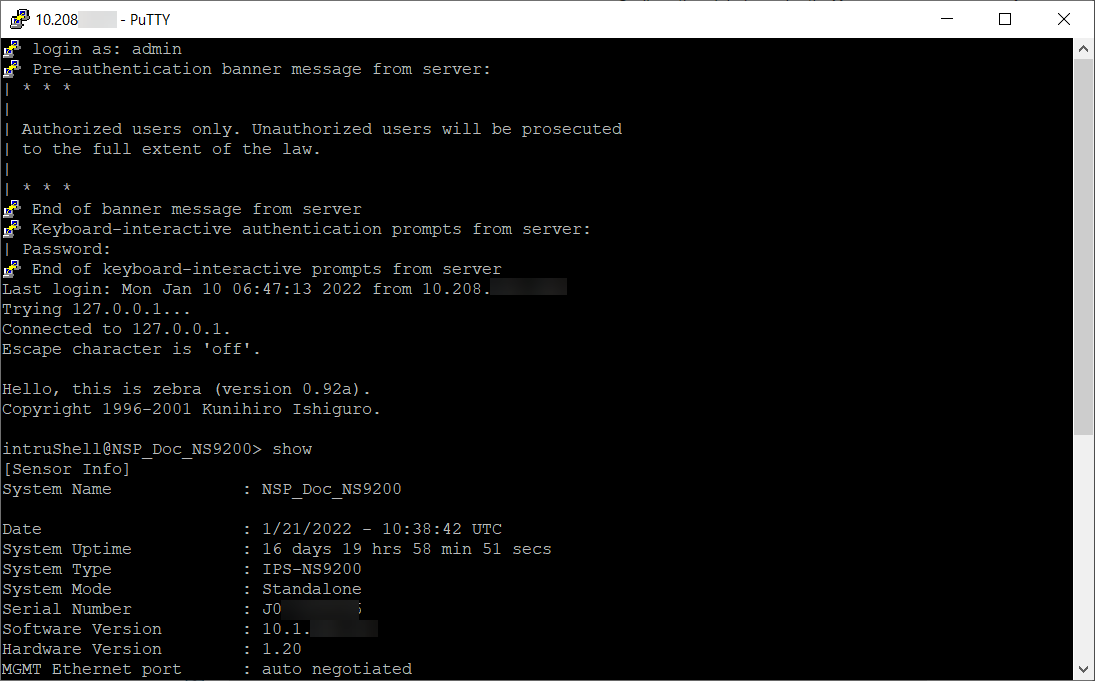
At the login prompt, log on to the Sensor using the default username
admin and password
admin123
Note
Trellix strongly recommends that you change the default password later for security purposes.
Set the name of the Sensor. At the prompt, type:
set sensor name <WORD>
Example:
set sensor name Engineering_Sensor1
Note
The Sensor name is a case-sensitive alphanumeric character string up to 25 characters. The string can include hyphens, underscores, and periods, and must begin with a letter.
Set the IP address and subnet mask of the Sensor. At the prompt, type:
set sensor ip <A.B.C.D> <E.F.G.H>
Specify a 32-bit address written as four octets separated by periods: X.X.X.X, where X is a number between 0-255. For example:
set sensor ip 192.34.2.8 255.255.255.0
Note
Setting the IP address for the first time-that is, during the initial configuration of the Sensor-does not require a Sensor reboot. Subsequent changes to the IP address will, however, require that you reboot the Sensor for the change to take effect. If a reboot is necessary, the CLI will prompt you to do so. For information on rebooting, see the
Trellix Intrusion Prevention System Product Guide.
If the Sensor is not on the same network as Manager, set the address of the default gateway. At the prompt, type:
set sensor gateway <A.B.C.D>
Use the same convention as the one for Sensor IP address. For example:
set sensor gateway 192.34.2.8
Set the IP address of Manager server. At the prompt, type:
set manager ip <A.B.C.D>
Use the same convention as the one for Sensor IP address. Example:
set manager ip 192.34.3.2.
Ping Manager from the Sensor to determine if your configuration settings to this point have successfully established the Sensor on the network. At the prompt, type:
ping <manager IP address>
If the ping is successful, continue with the following steps. If not, type
show to verify your configuration information and check to ensure that all information is correct. If you run into any difficulties, see the
Trellix Intrusion Prevention System Product Guide.
Set the shared key value for the Sensor. This value is used to establish a trust relationship between the Sensor and Manager. At the prompt, type:
set sensor sharedsecretkey
The Sensor then prompts you to enter a shared secret key value. Type the shared secret key value at the prompt. The Sensor then prompts you to verify the value. Type the value again.
Note
The shared secret key value must be between 8 and 25 characters of ASCII text. The shared secret key value is case-sensitive. Example: IPSkey123
(Optional, but recommended) Change the Sensor password. At the prompt, type:
passwd
The Sensor prompts you to enter the new password and prompts you for the old password.
The password must be a minimum of 8 characters in length, and can be upto 25 characters long.
The characters that can be used while setting a new password are:
26 alphabets: Both upper and lower case are supported (a,b,c,...z and A, B, C,...Z)