A distributed virtual switch acts as a central interface from which you can configure and manage switching for the entire data center. You can create a distributed switch by using the VCenter Server. This section describes the steps to create a distributed switch.
Task
-
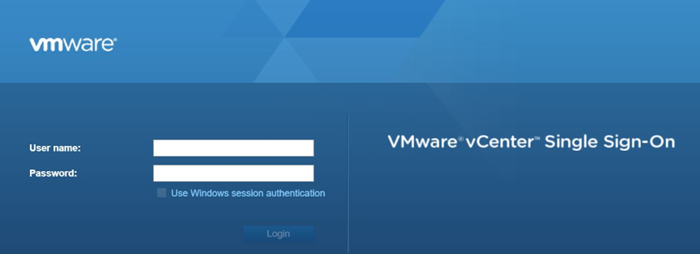
Log on to the vCenter Server.
-
In the left hand navigation pane, click the
Host and Cluster tab.
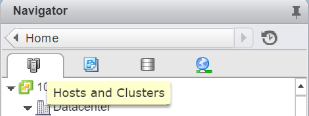 This displays the list of available datacenters.
 -
In the required datacenter, select
Datacenter → Distributed Switch → New Distributed Switch.
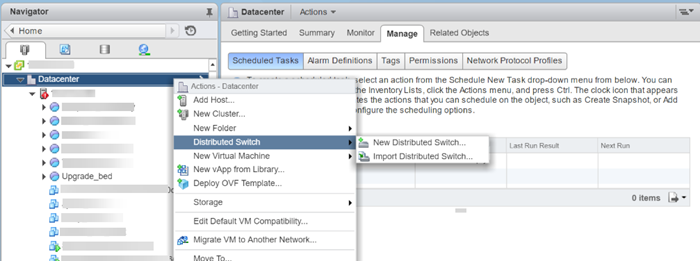 This opens the New Distributed Switch window.
 -
In the
Name field, enter a name for the distributed switch.
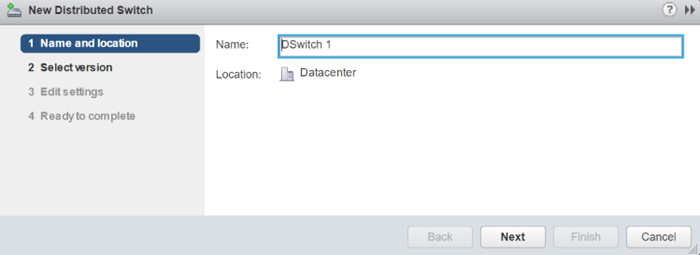
- Click Next.
-
In the
Select version section, select the version of the distributed switch.
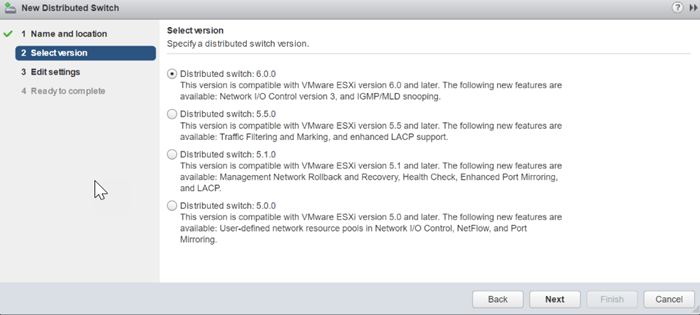
Note
The selected version should be same as that of ESXi version.
- Click Next.
-
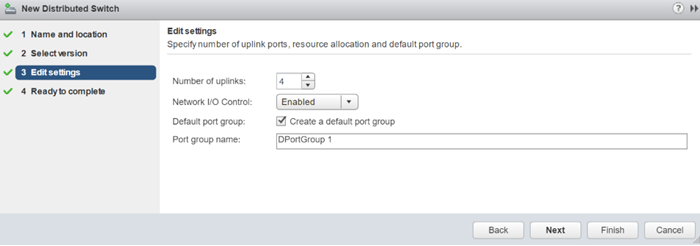
In the
Edit Settings section, configure the following details:
- Select the Number of uplinks.
- Enable or Disable the Network I/O Control.
- Select Create a default port group if you want to create a default port group.
- Enter a custom name for the port group in the Port group name text box. (Optional)
- Click Next.
-
In the
Ready to complete window, click
Finish.
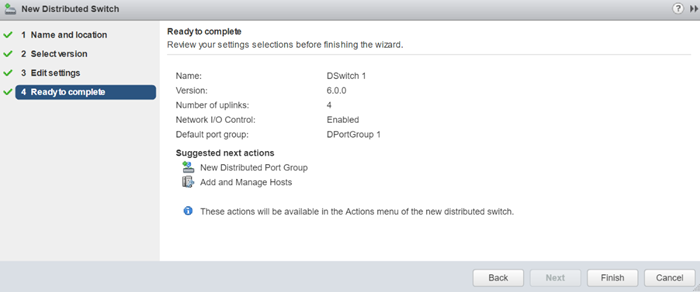 On the Networking tab, the newly created dswitch is visible.
 -
Add ESXi hosts to the newly created dswitch. To add hosts to the dswitch, perform the following steps:
- on the Networking tab, right-click the newly created dswitch.
-
Click
Add and Manage Hosts.
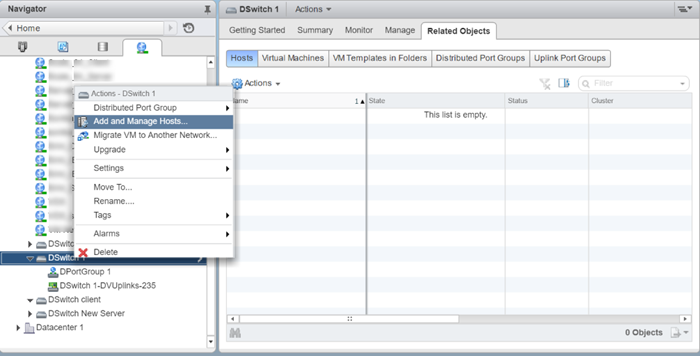 The Add and Manage Hosts window appears.
 -
In the
Select task section, select
Add hosts.
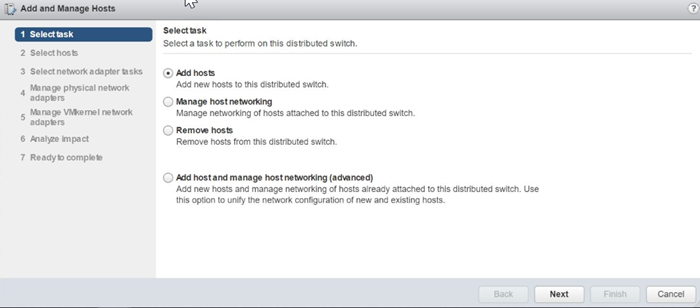
-
Click
Next.
The Select hosts window appears.
-
Click
New hosts to add hosts.
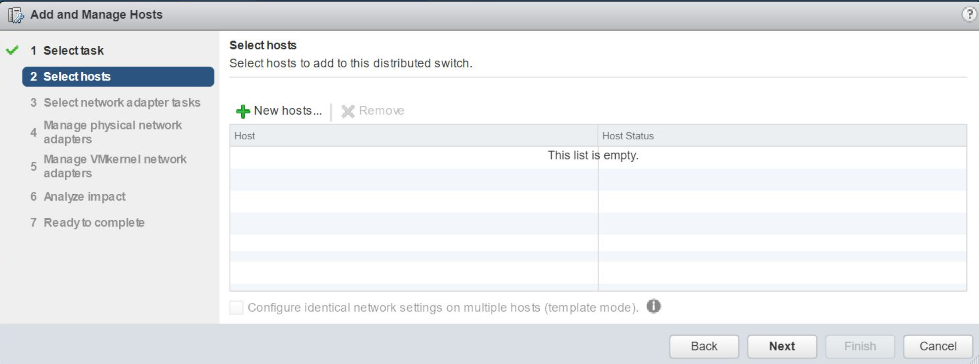 This displays the Select new hosts window.
 -
Select the required hosts.
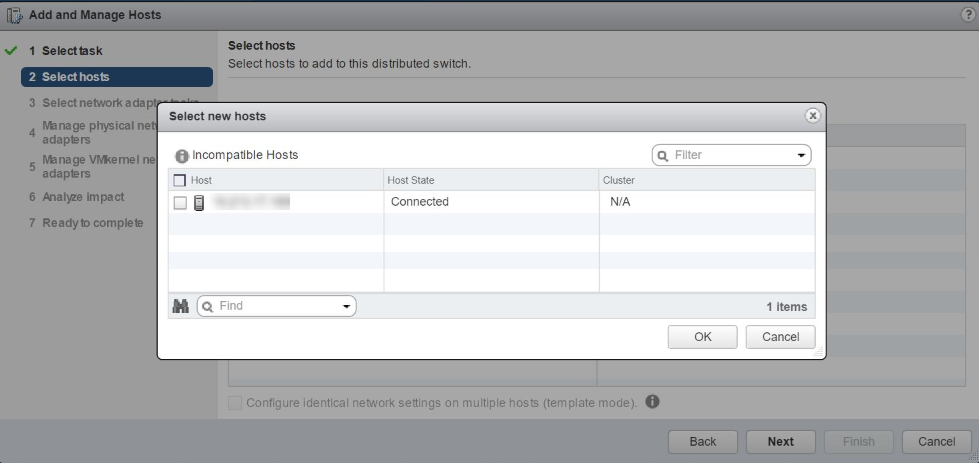
- Click OK.
-
In the
Select network adapter tasks section, check
Migrate virtual machine networking.
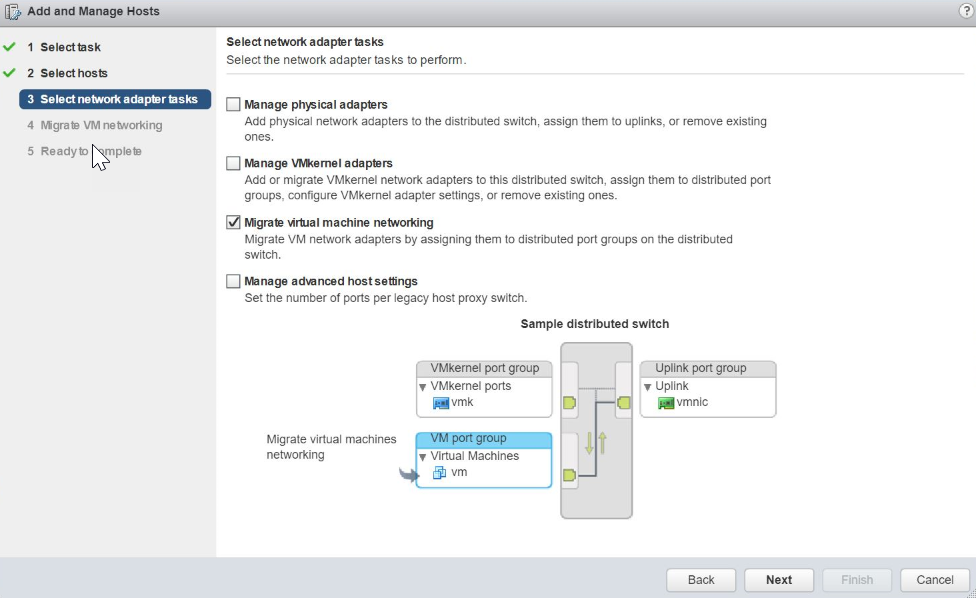
- Click Next.
-
In the
Migrate VM networking section, select the required virtual machines.
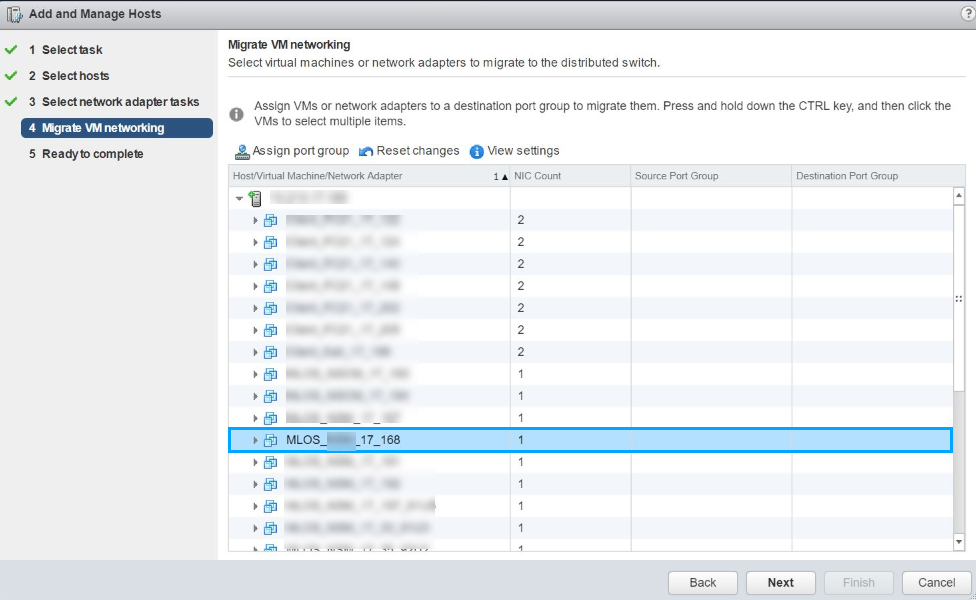
- Click Next.
-
In the
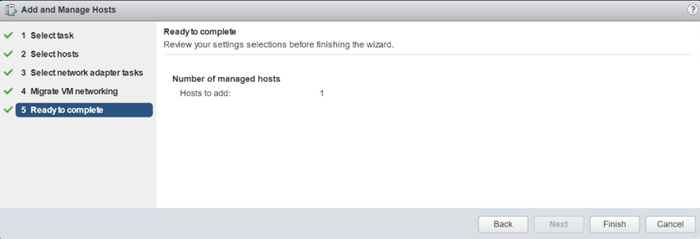
Ready to complete window, click
Finish.