Before you begin
To create a vSwitch, you might be required to connect an additional physical NIC on the ESX.
After you install the Virtual Sensor, you need a standard vSwitch to which you will connect the management port of the Virtual Sensor. If you have installed the Manager on the same ESX, you can connect it to this switch as well. When you create a standard vSwitch, ESX creates a default port group for this vSwitch.
Task
-
Connect an additional physical NIC on the ESX to the adjacent physical switch.
This is required for the vSwitch that you are creating.
-
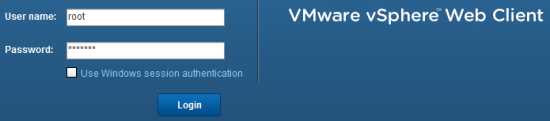
Log on to the ESX as the root user in VMware vSphere Web Client.
-
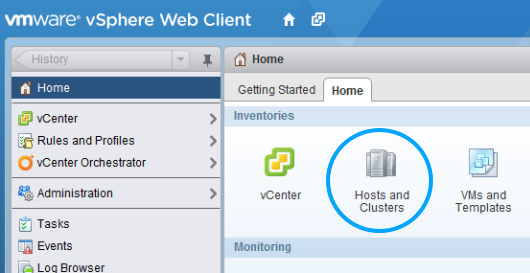
On the vSphere
Home tab, select
Hosts and Clusters.
-
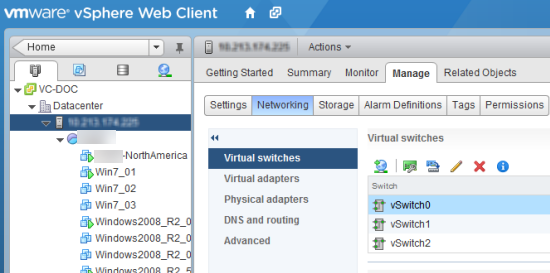
Select the required ESX server and select
Manage → Networking → Virtual switches.
-
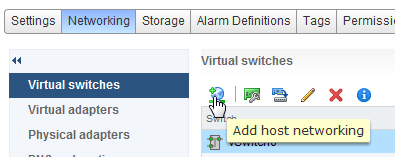
Click on the
Add host networking icon.
-
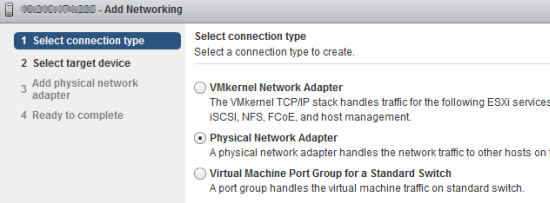
For
Select connection type, select
Physical Network Adapter (as an example) and click
Next.
Selecting the connection type depends on your network design and requirements. For example, if the Manager is installed on a physical machine, you must select Physical Network Adapter in such scenario. Otherwise, the Sensor and the Manager will not be able to communicate. If the Manager is installed on a virtual machine and you plan to use the same vSwitch for both the Sensor management port and the Manager, you might choose Virtual Machine Port Group for a Standard Switch. For the scenarios explained in this document, select Physical Network Adapter.
-
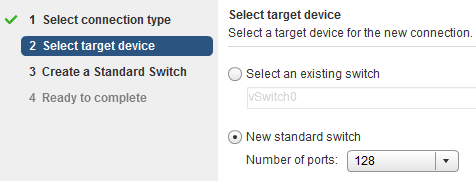
For
Select target device, select
New standard switch, the required number of ports, and then click
Next.
-
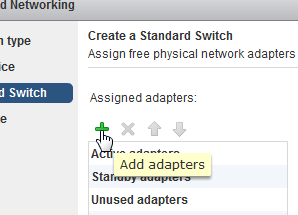
For
Create a Standard Switch step, click the
Add adapters icon.
-
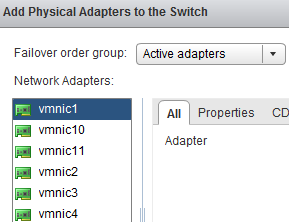
In the
Add Physical Adapters to the Switch dialog box, select the required network adapter and click
OK.
Make sure that a physical NIC corresponding to the network adapter you selected is connected to the network.
-
Verify the properties of the selected adapter and click
Next and then select
Finish.
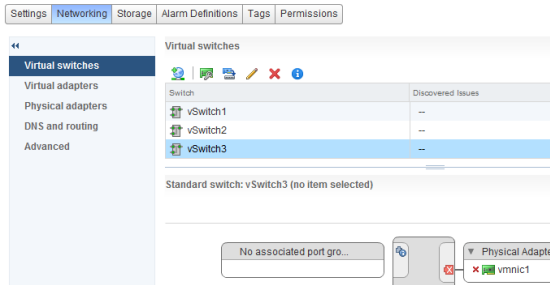
The vSwitch that you created is listed in the Virtual switches section.
-
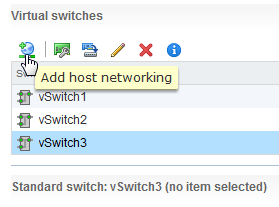
Add the required switch port groups for the vSwitch that you created; select that vSwitch and then click the
Add host networking icon.
-
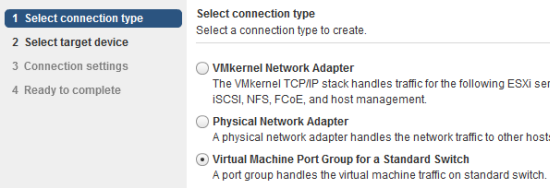
In the
Select connection type step, select
Virtual Machine Port Group for a Standard Switch and then click
Next.
-
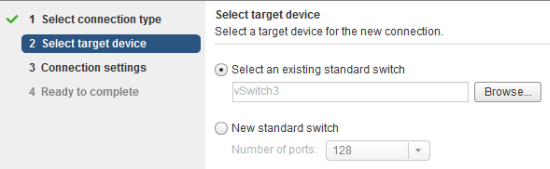
In the
Select target device step, select
Select an existing standard switch and make sure the vSwitch that you created is selected. Then, click
Next.
-
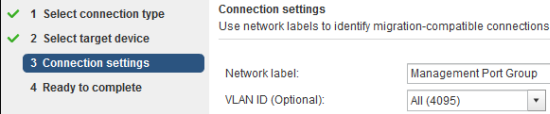
In the
Network Label field, enter the required name for the default port group that the wizard creates for the switch.
You can modify Network Label later. For easier management, you can name it as Management Port Group.
-
Optionally, in
VLAN ID field, select
All (4095) and select
Next.
If required, you can specify the required VLAN ID as per your network configuration.
-
Review the details displayed in the
Ready to complete step and click
Finish.
This vSwitch is now listed with the switch port group that you created.
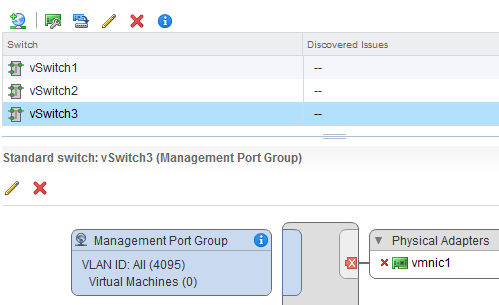
-
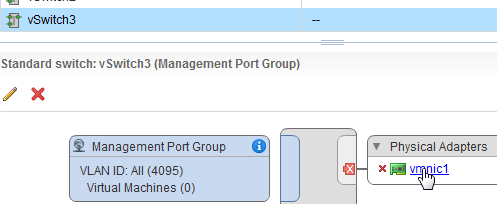
Move the mouse over the physical adapter and click on it.
-
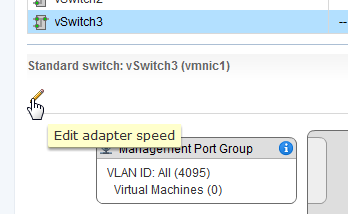
Click on the
Edit adapter speed icon.
-
Verify if the
Configured Speed, Duplex is set to
Auto negotiate.
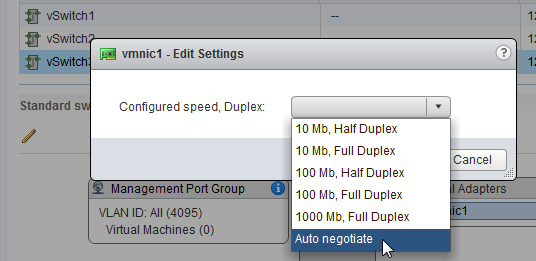
For other property values, you can leave them with the default values.