Prerequisites:
Make sure you have purchased the 100G Active Fail-Open chassis.
Identify the rack in which you plan to install the fail-open chassis.
If you are using a physical Sensor, make sure you can physically connect the chassis with the monitoring ports.
Insert the Active Fail-Open module into one of the 2 slots available before powering up the chassis. For more information, see Connect the Active Fail-Open module to a Sensor.
You can install up to two Fail-Open modules in a single chassis.
Note
You can install an Active Fail-Open module in the chassis on the fly while the chassis is powered on in the rack. However, hot swapping of a module is not fully supported as a module, once inserted, will require a system reboot to make the newly inserted module active. Trellix recommends you to insert the Active Fail-Open module(s) into the slot first before turning on the power.
Steps:
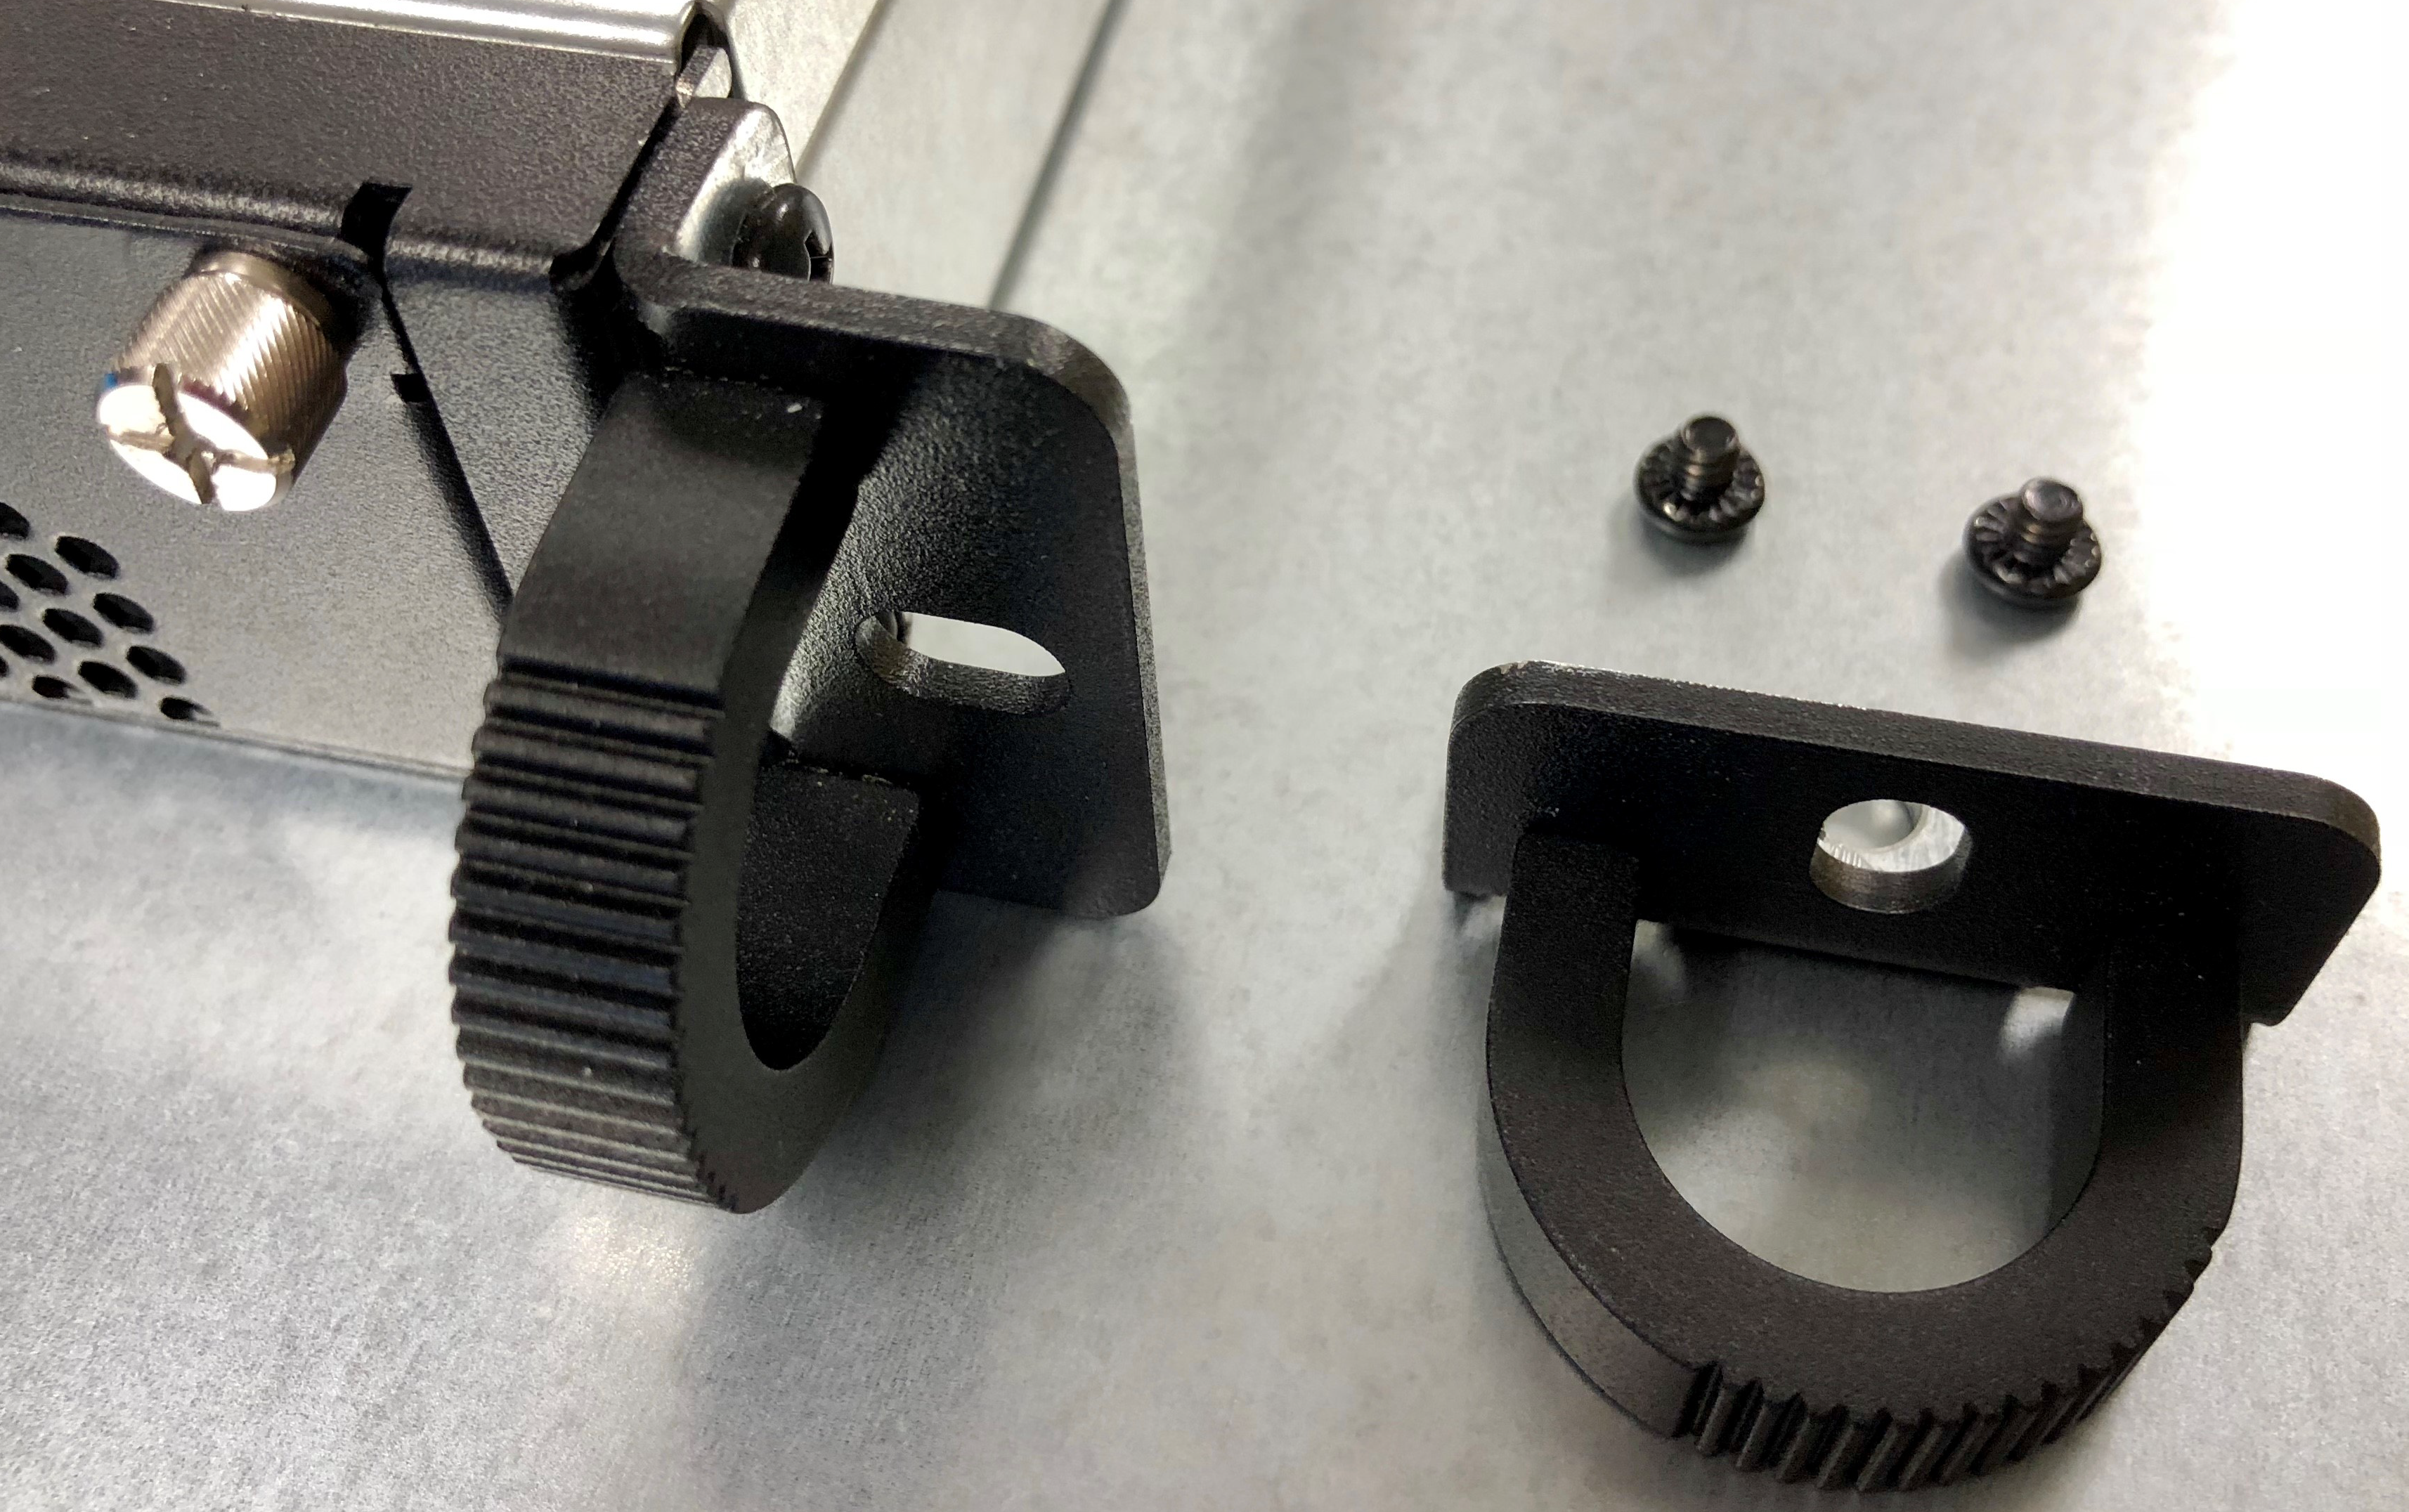
Install the ears of the chassis.
Install the rails.
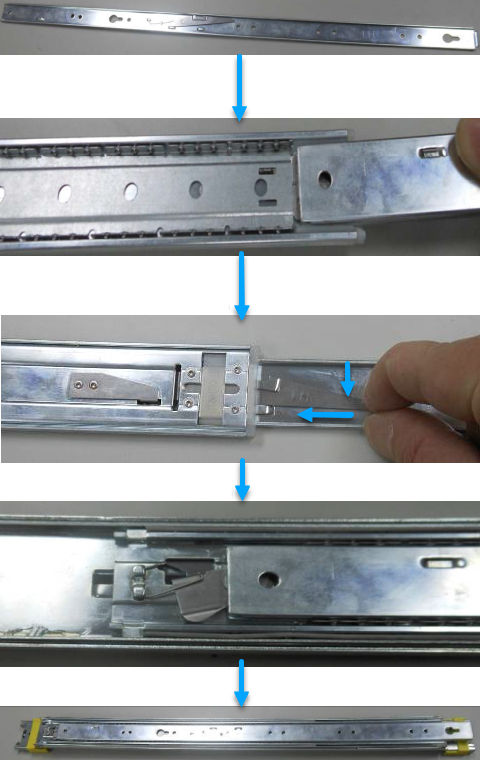
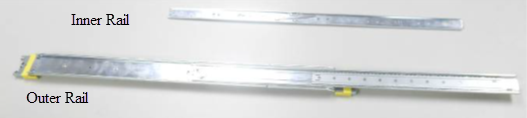
Mount the rails to the chassis. The rails consist of the following:
An Inner Rail that is connected to the 100G Active Fail-Open chassis
An Outer Rail that is mounted on a 4-post rack
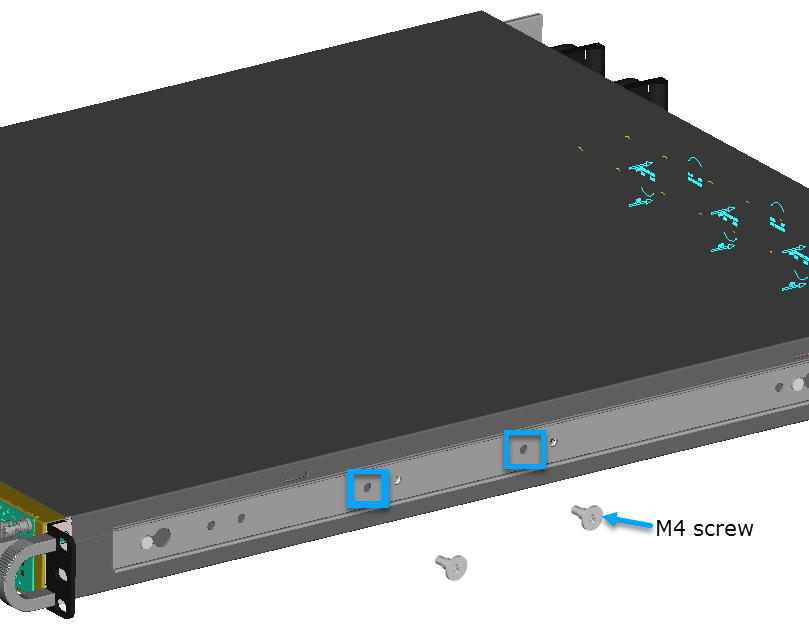
Align the Inner Rail slots to chassis arms as depicted below.
Push the Inner Rails toward the back of the chassis to lock it in.
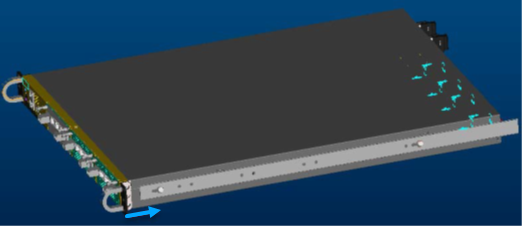
Use screws provided with the rails to secure the Inner Rails onto the chassis.
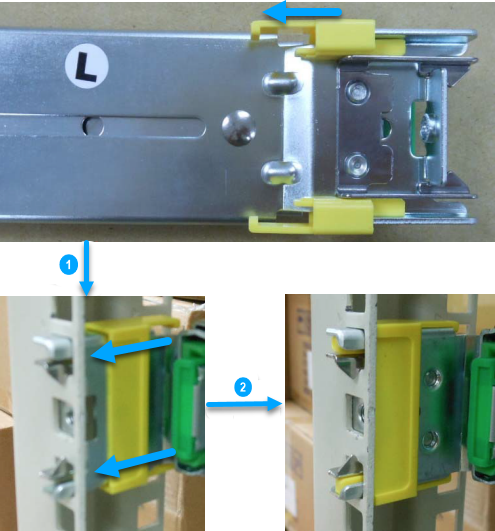
Assemble the Outer Rails onto the 4-post rack.
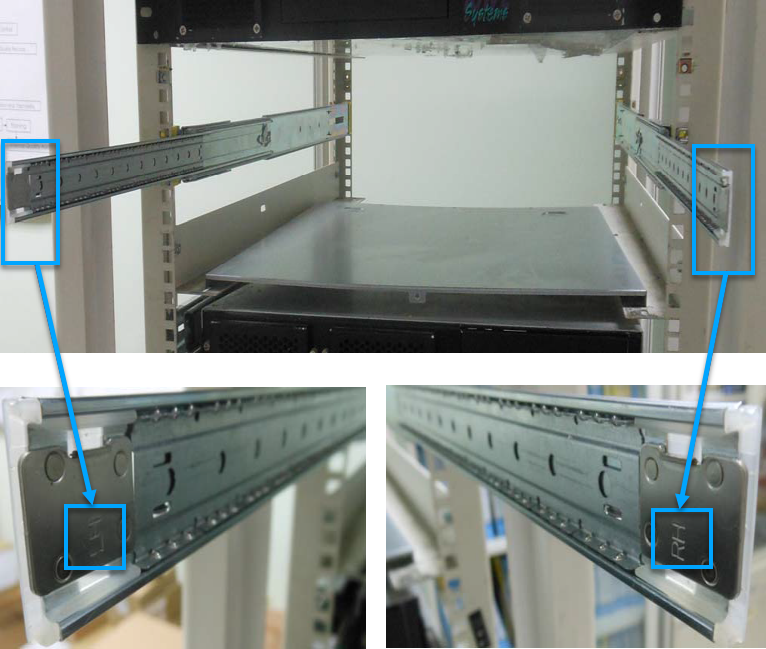
Extend the Outer Rails arms.
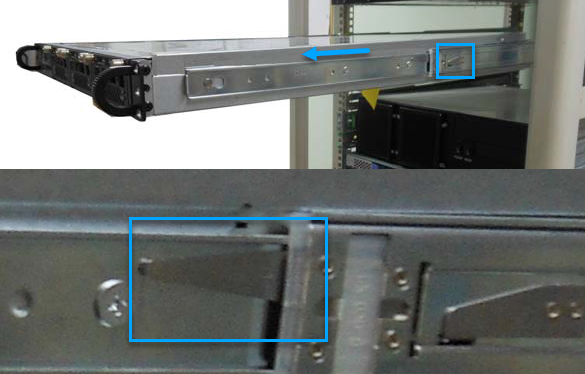
Attach the chassis to the Outer Rails and push the chassis into the rack by pressing the clip down.
Secure the chassis by inserting screws through holes in the ears of the chassis.
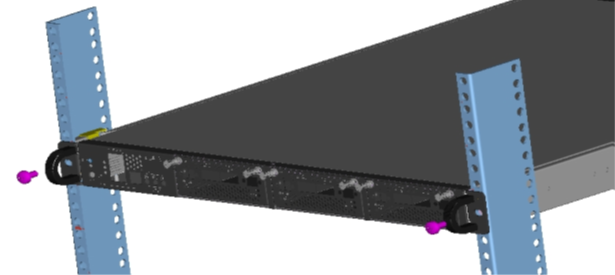
Result: The 100G Active Fail-Open module is ready to be connected to a Sensor.