Before you begin
Make sure you have created the Rate Limiting profiles that you require.
From the domain level, you assign a Rate Limiting profile to the required inline port pairs of that domain. You have to assign a Rate Limiting profile for the inbound and outbound ports separately. Only when you assign a Rate Limiting profile, a port is aware of the classes and the corresponding bandwidth that it should consider for rate limiting. You can assign the same Rate Limiting profile to any number of inline ports that belong to the domain. However, the Type of the Rate Limiting profile must be the same or less than the port speed.
Note
When you assign the Rate Limiting profile, only the ports whose speed is equal or less than the Rate Limiting profile Type value are listed. This ensures that the Rate Limiting profile Type value is same or less than the port speed. However, if you change the port speed after you have assigned the Rate Limiting profile, you have ensure that the port speed is not less than the corresponding Rate Limiting profile Type value. Also, be aware of this if the port is set to auto-negotiate.
The following table details the Rate Limiting profile Type and the corresponding port configuration speed:
| Rate Limiting profile Type | Applicable port speed |
|---|---|
| 10 Mbps |
|
| 100 Mbps |
|
| 1 Gbps |
|
| 10 Gbps | 10 Gbps |
Consider a Rate Limiting profile whose Type is 10 Mbps. Assume that Class 1 is assigned 5 Mbps and remaining 5 Mbps is unassigned. If you apply this profile on a port speed of 100 Mbps, the unclassified traffic is limited to 95 Mbps.
The Rate Limiting profile that you assign might belong to the domain or inherited from a parent domain. For delegated Sensor ports, you can only assign the Rate Limiting profile from the domain that owns the Sensor.
Note
If you have assigned a QoS policy with Rate Limiting rules but not assigned the Rate Limiting profile, then the subsequent configuration update to the Sensor fails.
Task
- Click the Policy tab.
- From the Domain drop-down list, select the domain you want to work in.
- Select Intrusion Prevention → Objects → Rate Limiting Profiles.
-
Click the
Assignments value of the policy that you want to assign.
The Assignments page displays.
Note
Prompt for assignment after save option is provided in the Rate Limiting Profiles page (where you create or modify a Rate Limiting profile). If you had selected this option, the Assignments page is automatically opened when you click Save in the Rate Limiting Profiles page.
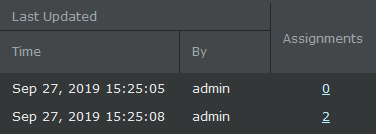
-
Assign the Rate Limiting profile to the required interfaces.
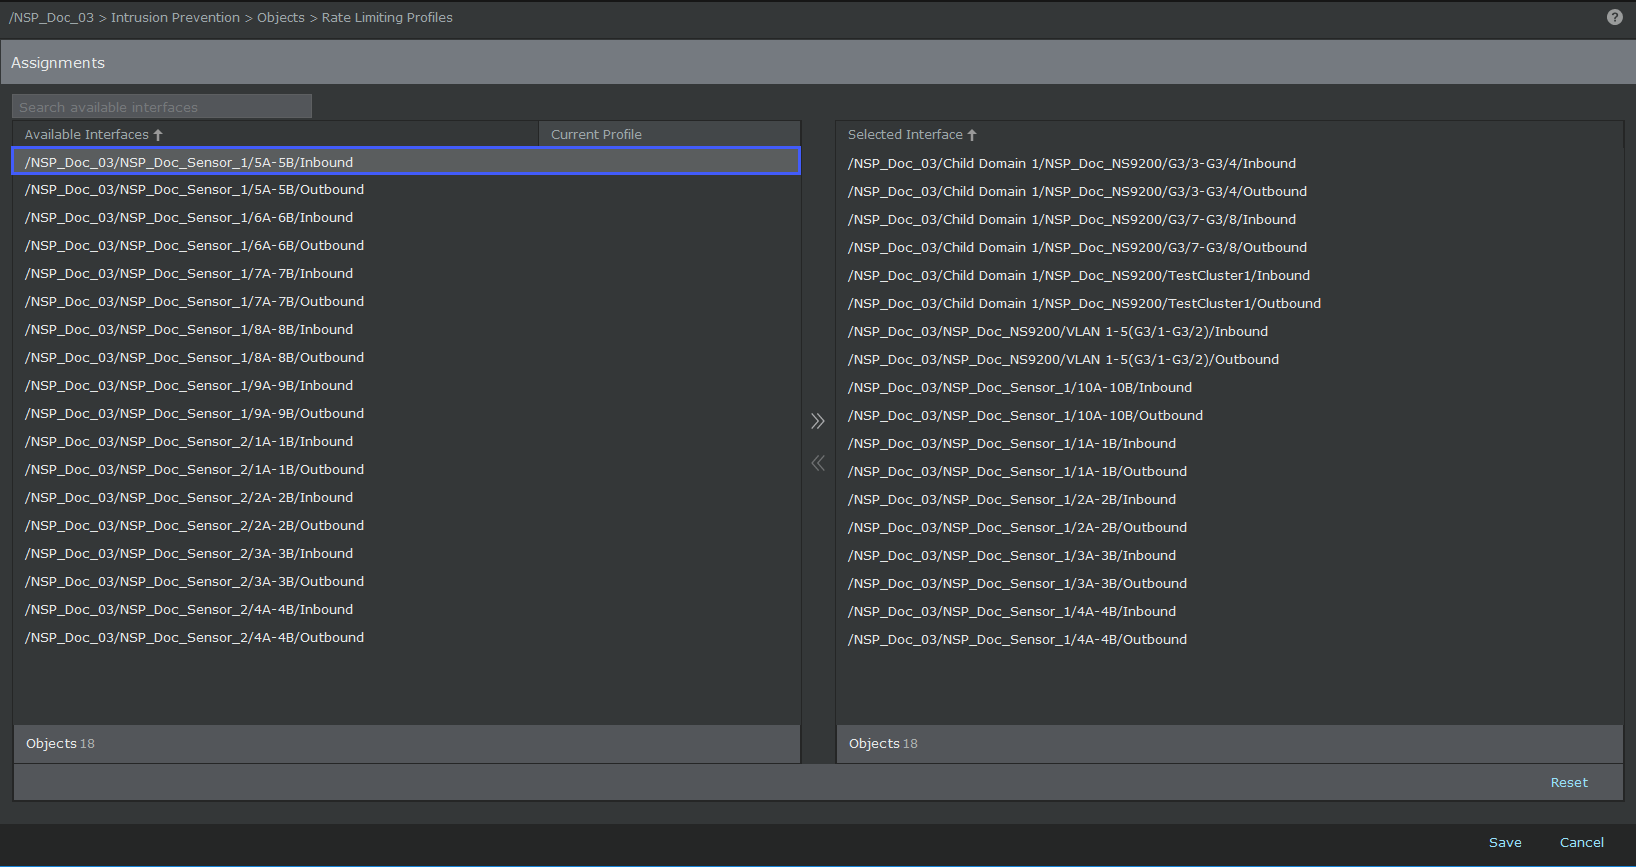
Option Definition Search Available Interfaces Filters the list of interfaces based on the string that you enter Available Interfaces Lists the interfaces for the admin domain. Select the required interfaces from the Available Interfaces and click  .
.
- If an admin domain has only Sensor ports allocated from the parent domain but no Sensor of its own, no device-level resource is listed.
- Only interfaces whose port speed is equal or more than the Rate Limiting Profile Type are listed. For example, if the Rate Limiting Profile Type is 1 Gbps then only 1 Gbps and 10 Gbps interfaces are listed.
Current Profile The Rate Limiting profile that is currently assigned to the port. You can select such ports too, but this means you are assigning a different profile to these ports now. Note, for example that 1A-1B /Inbound corresponds to 1A or 1B that is connected to the inside network. Selected Interface Lists the Sensor resources to which you have assigned the Rate Limiting profile Reset Cancels the assignments that you made in the current session Save Saves the changes to the Manager database Cancel Closes the Assignments window without saving the changes - Deploy the configuration changes to the Sensor.
Alternative ways to assign Rate Limiting profiles
There are many options to assign a Rate Limiting profile to Sensor ports. The method described above explains how to assign a Rate Limiting profile to multiple Sensor ports. You can also go to the Policy Manager page of a specific Sensor port pair and select a Rate Limiting profile for that port. These options are described here.
Note
Before you proceed, make sure you have assigned a QoS policy to the ports and that this policy has at least one rate-limiting rule.
To assign a Rate Limiting profile to a Sensor port pair:
- In the Manager, select Policy → <Admin Domain Name> → Intrusion Prevention → Policy Manager.
- On the
Interfaces tab, double-click the Sensor port to which you would like to assign a rate limiting profile.
The <Device Name/Interface> panel opens.
- In the Quality of Service section, select the inbound and/or outbound policy from the Inbound Policy and/or Outbound Policy drop down.
- Under the Inbound Rate Limiting Profile, select the Inbound Profile for the port.
- Under the Outbound Rate Limiting Profile, select the Outbound Profile for the port.
- Click Save.
- Deploy the configuration changes to the corresponding Sensor.